on
Drone
A Pi that Flies
Something I never bothered writing about on my blog was my senior design project. Part of this is because I never found the time and eventually forgot about it. The other part is because drones were prohibited on campus until after I graduated. Plus I was an RA so it looked bad if I was breaking the rules I should be enforcing. I’ve redone the project based on the skills I’ve learned since. In this blog post I’ll talk about the original drone design and my changes the second time I did it based on the new skills I’ve acquired. I’m recalling most of this project from memory so if anything is unclear, please let me know.
The short version:
This ended up being a long post so if you only want a quick summary here it is: I decided for my senior design to assemble a first responder drone and make it ‘smart’ by attaching a Raspberry Pi to it. The drone would ‘look’ for people using a night camera that can see in the light and dark and then interpret the frames using TensorFlow and MobileNet model. If a person is detected, it would log the result to a text file and send a text message using Twilio. Part two talks about the technical details more.
You can find the source code here.
CSC 495 Senior Design Project
CSC 495 was a class I looked forward to since I was a freshman. I remember each year eagerly watching each senior class present their projects. Most of the projects were websites or apps. Some of my favorites include an app that synchronizes with other phones and plays music simultaneously similar to how Sonos speakers work and another that was basically Uber for the campus vans.
But the majority of projects seemed like the same CRUD app or website so I wanted to do something different. By the time I was a senior I was familiar with basic electronics and even built a few projects, like my alarm clock for 8ams.. I knew I wanted to do something along those lines so I chose to build a drone.
I had never flown a drone up until that point and didn’t even know where to begin. Do I order a complete set or do I pick out individual components? Since I was a college student at the time with very limited money, I found out it would be cheaper to order the parts separately. Plus I needed a large lipo battery to power both the drone and the Raspberry Pi and most kits on Amazon wouldn’t suffice.
Defining the Project
Another problem I had was actually defining my project. Did I want to write the firmware from scratch and use an Arduino / Teensy as the flight controller? Did I want to create a drone that focused solely on recording video during flights? Or something else? The problem is that these things have already been done so I wouldn’t be original if I had recreated them. My goal was to create something valuable and original. Based on my time constraint and skillset, I decided I would make a smart drone by leveraging TensorFlow and Twilio. The drone would fly around like any other drone but have a Raspberry Pi and night camera attached to it. If a human was detected, it would log the GPS coordinates and send a text message to my phone. Once I was approved, I started researching drone parts. I did this by reading a few books. If anyone is interested in learning more about drones or building your own, I recommend starting here. The author also has a Github that is a drone control system.
Getting the Parts
Something I didn’t anticipate was how long it would take to learn all the intricate details of a drone. Similar to building a PC, all drones require a lot of parts that are necessary to make them fly. The problems is, some parts are incompatible with other parts. I didn’t know this when starting out. There isn’t something like PC Part Picker for drone parts so I had to be really careful when getting parts. Since there weren’t any stores nearby that sold drone parts, I had to order all the parts online so if something was incompatible with the rest of the parts, I would be unable to make any sort of progress for at least a few days while I waited for the right part to come. This alone made the project very stressful.
One time I bought propellers on Amazon but when they arrived I realized they didn’t work with my brushless motors. The problem was the brushless motors required DJI’s proprietary self tightening propellers so my generic ones weren’t compatible. I ended up buying the right ones later.
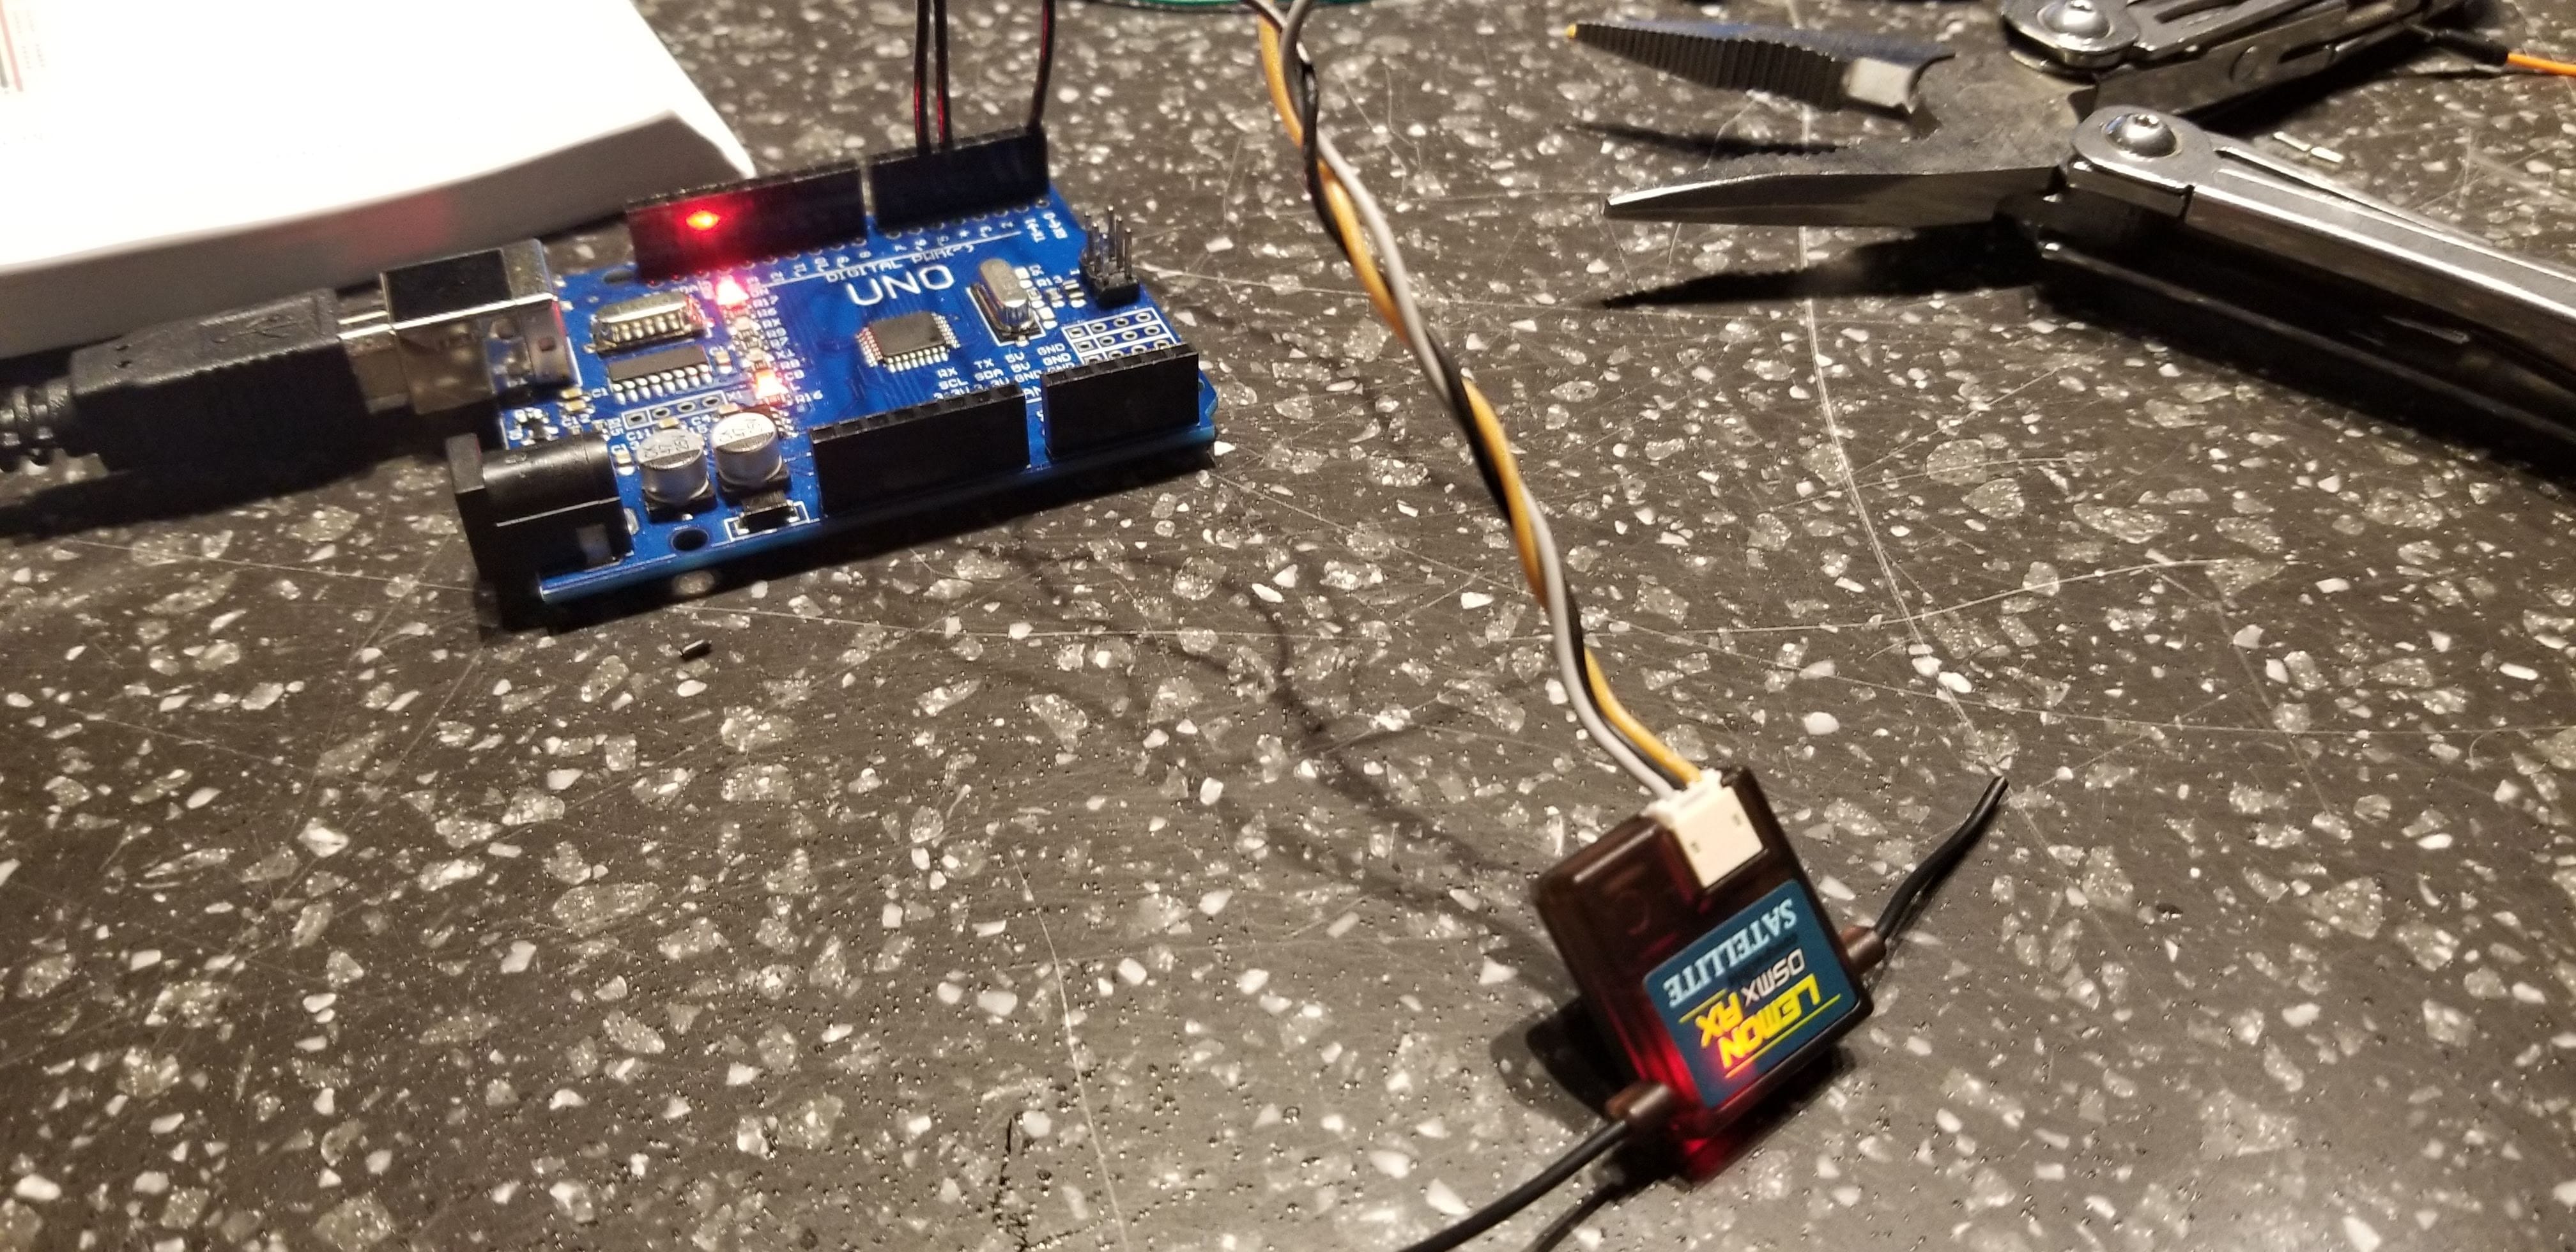
Another issue was finding a transmitter that worked with the APM 2.8 flight controller. I originally bought a really cheap drone and tried to use the transmitter with my flight controller but it didn’t recognize it. (I believe the transmitter was ‘locked’ to the cheap drone so I had to buy a transmitter that worked with my flight controller.) Different flight controllers and transmitters use different protocols to communicate with each other so I had to find one that was cheap and compatible. Eventually I settled on the Flysky FS i6x.
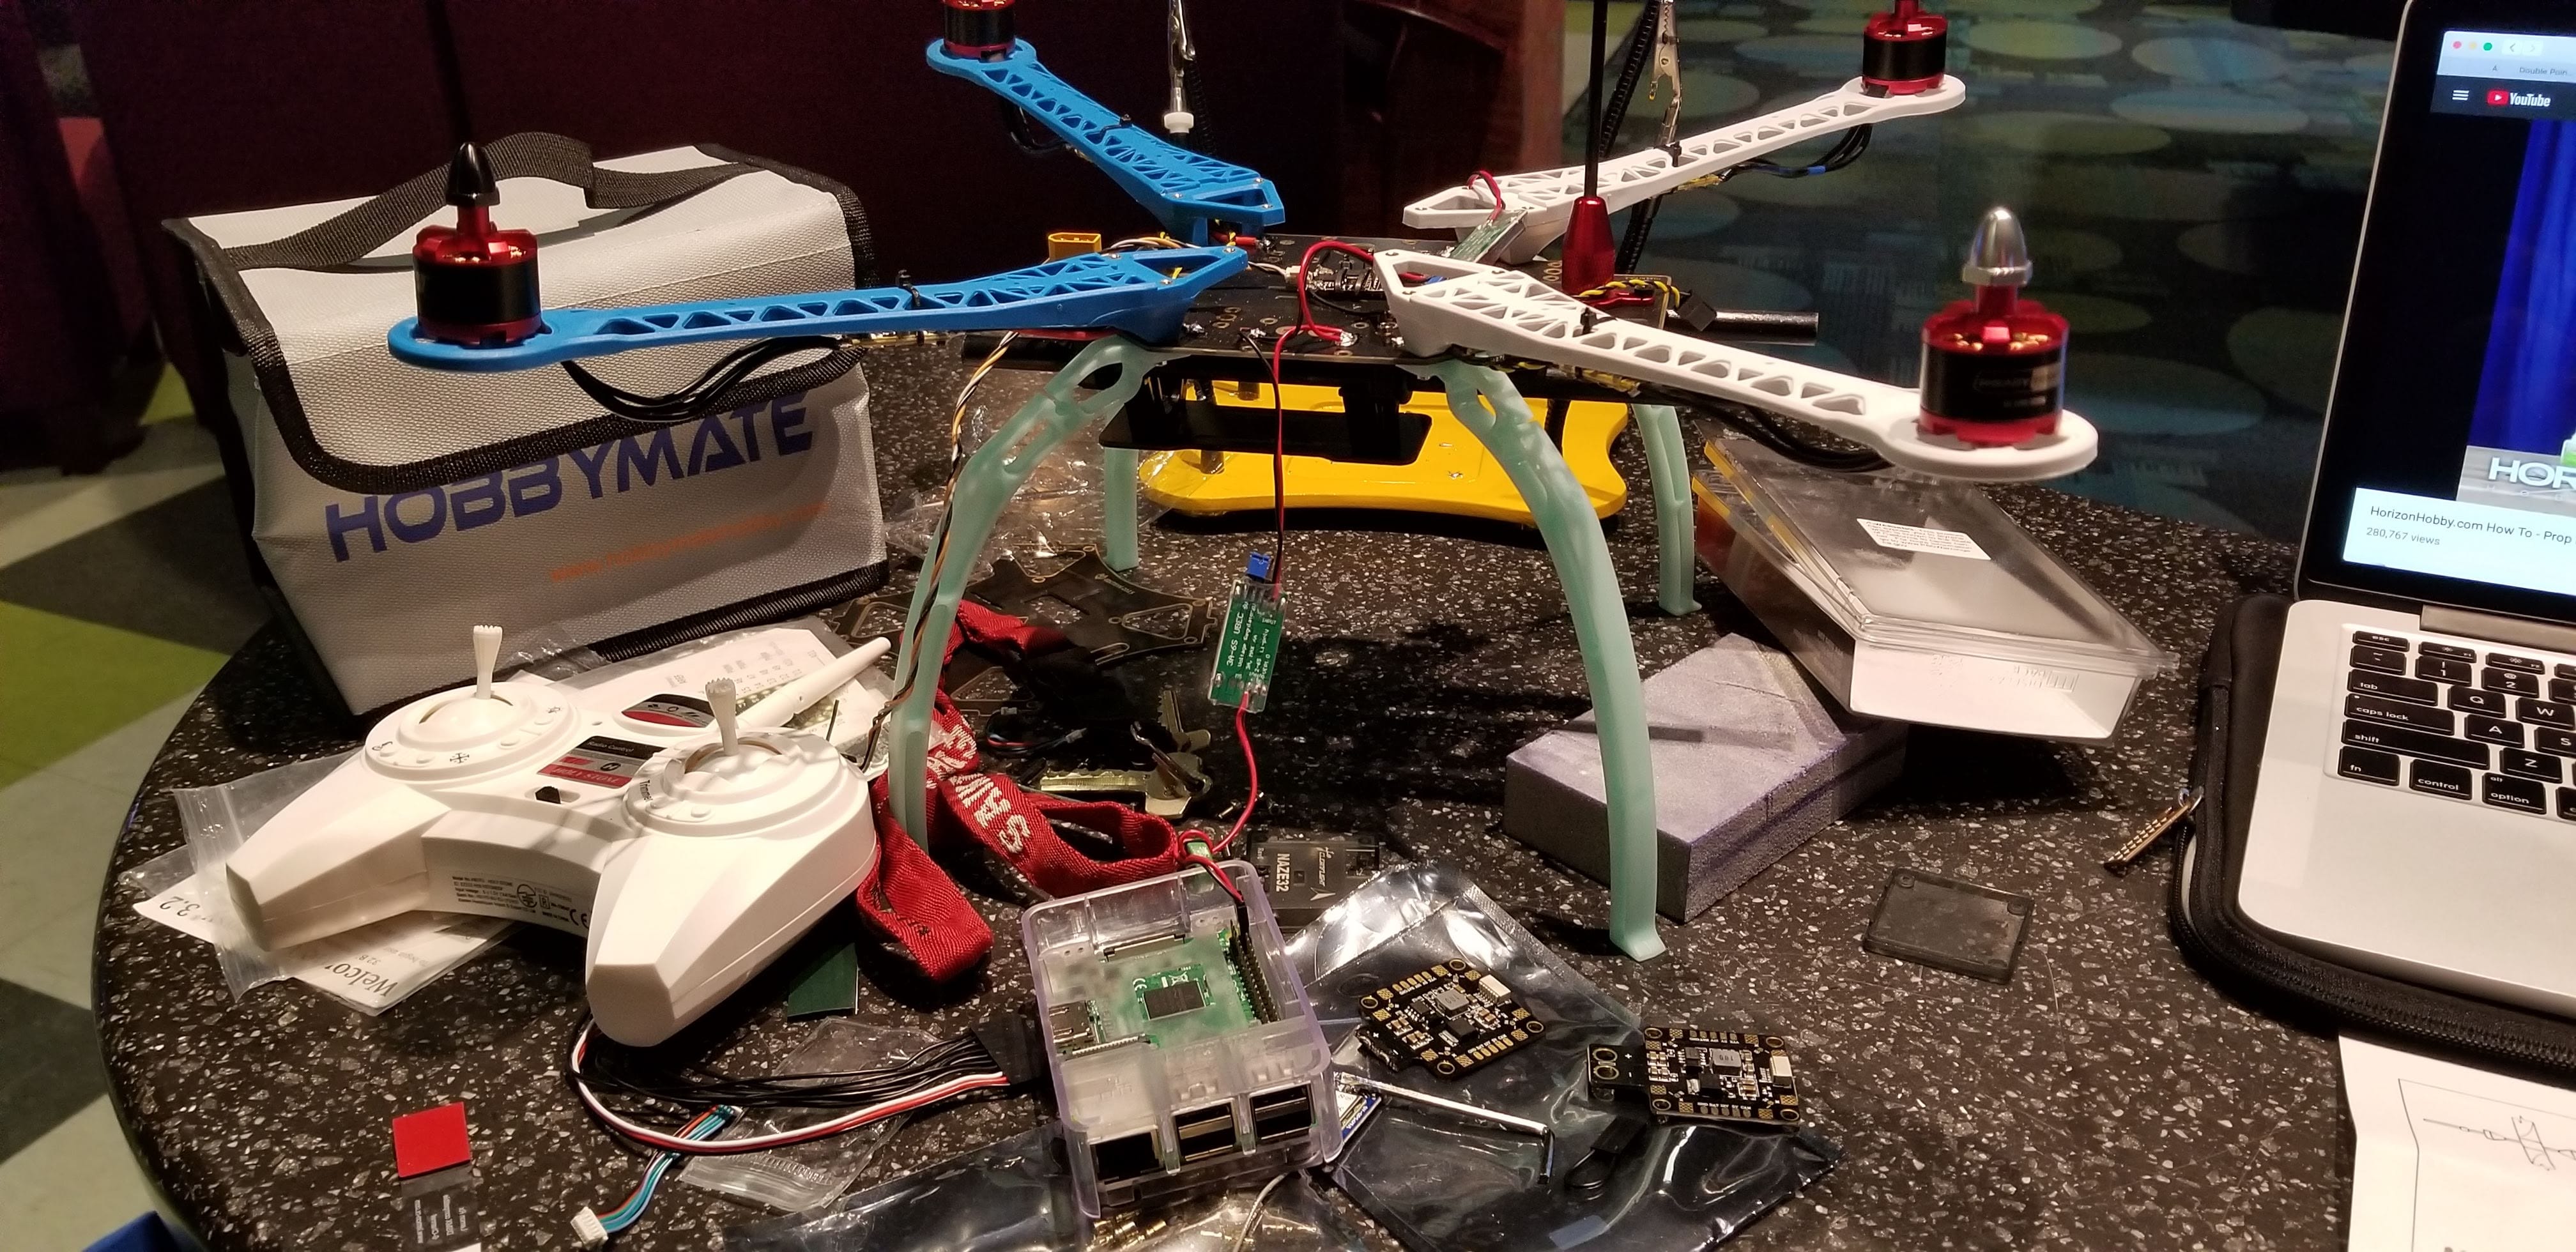
Parts List
- Drone Frame: frame of the drone that holds as the pieces together
- ESC: electronic speed controller (controls the speed of the motors)
- Brushless Motors: drone motors can be either brushed or brushless. I went with brushless because they’re more energy efficient and last longer
- Lipo Battery
- LiPo Charger: these LiPo’s are really powerful and require a special charger to charge them
- Power Distribution Board: used to provide power to both the flight controller and Pi)
- XT60 Power Connector: this connected the LiPo battery to the power distribution board which in turn powered the Pi and flight controller
- 5V UBEC: this lowered the LiPo voltage to 5V so the Pi could safely draw power
- Fireproof Battery Storage for Charging: this was essential. I was paranoid the LiPo battery would cause a fire in McShain Hall so I always stored it in this fireproof storage
- Battery Voltage Checker: to track of battery life (it would beep once the battery was low)
- Propellers
- Receiver
- Flight Controller: the brain of the drone
- Transmitter
Putting together the Pieces
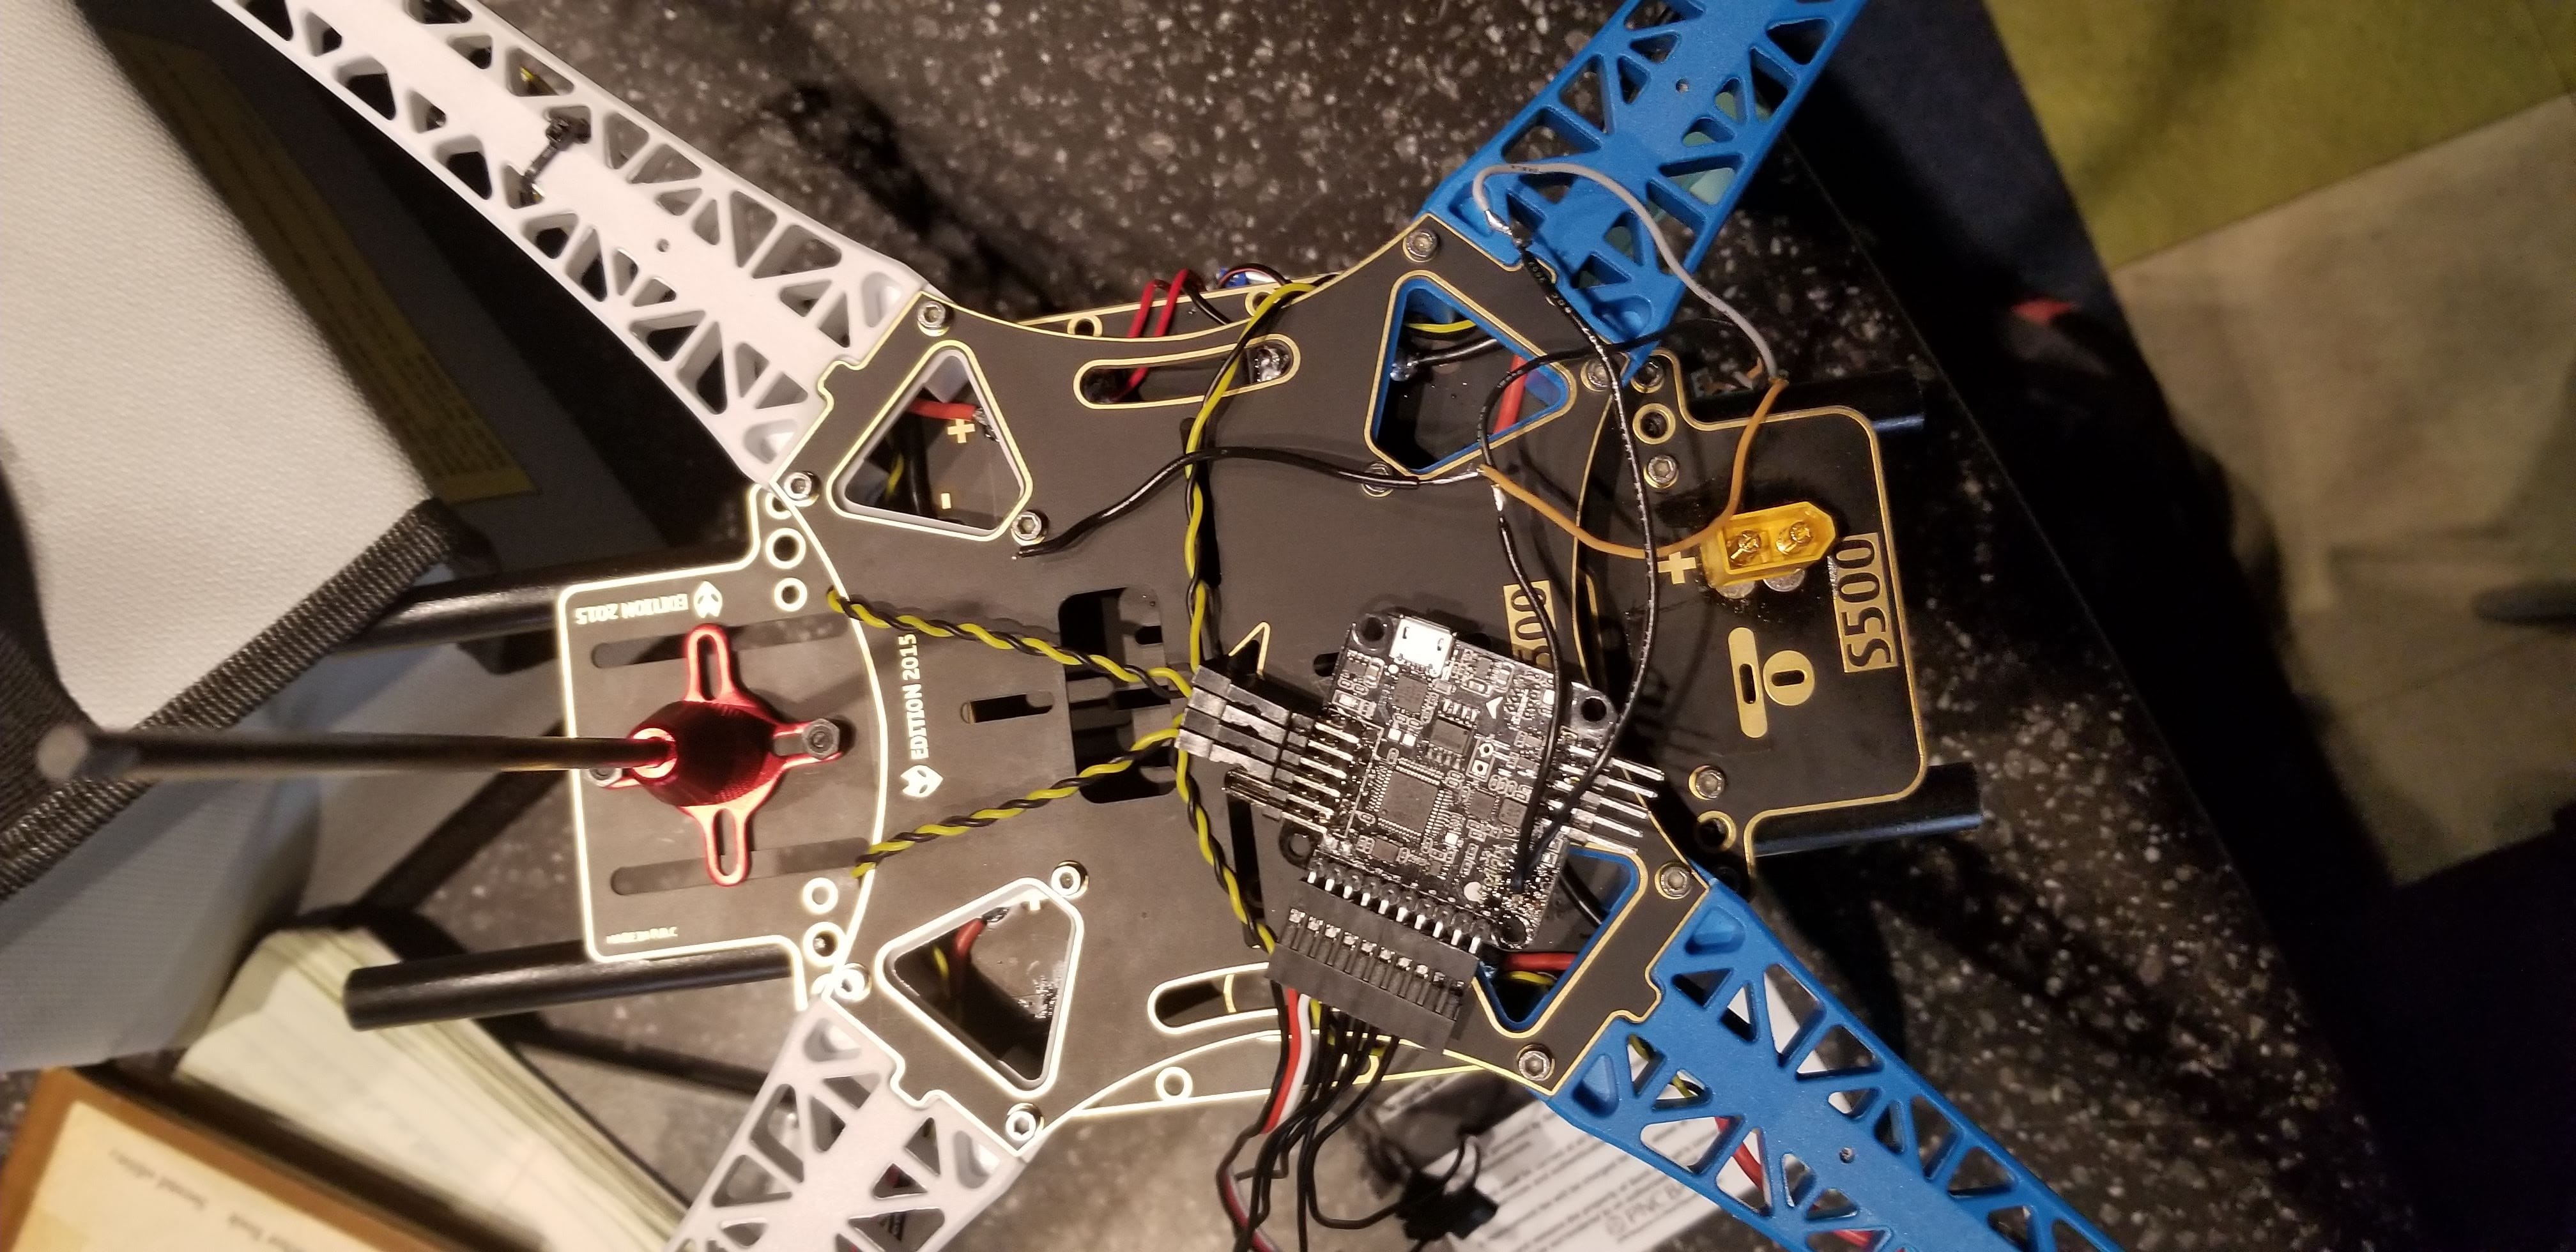
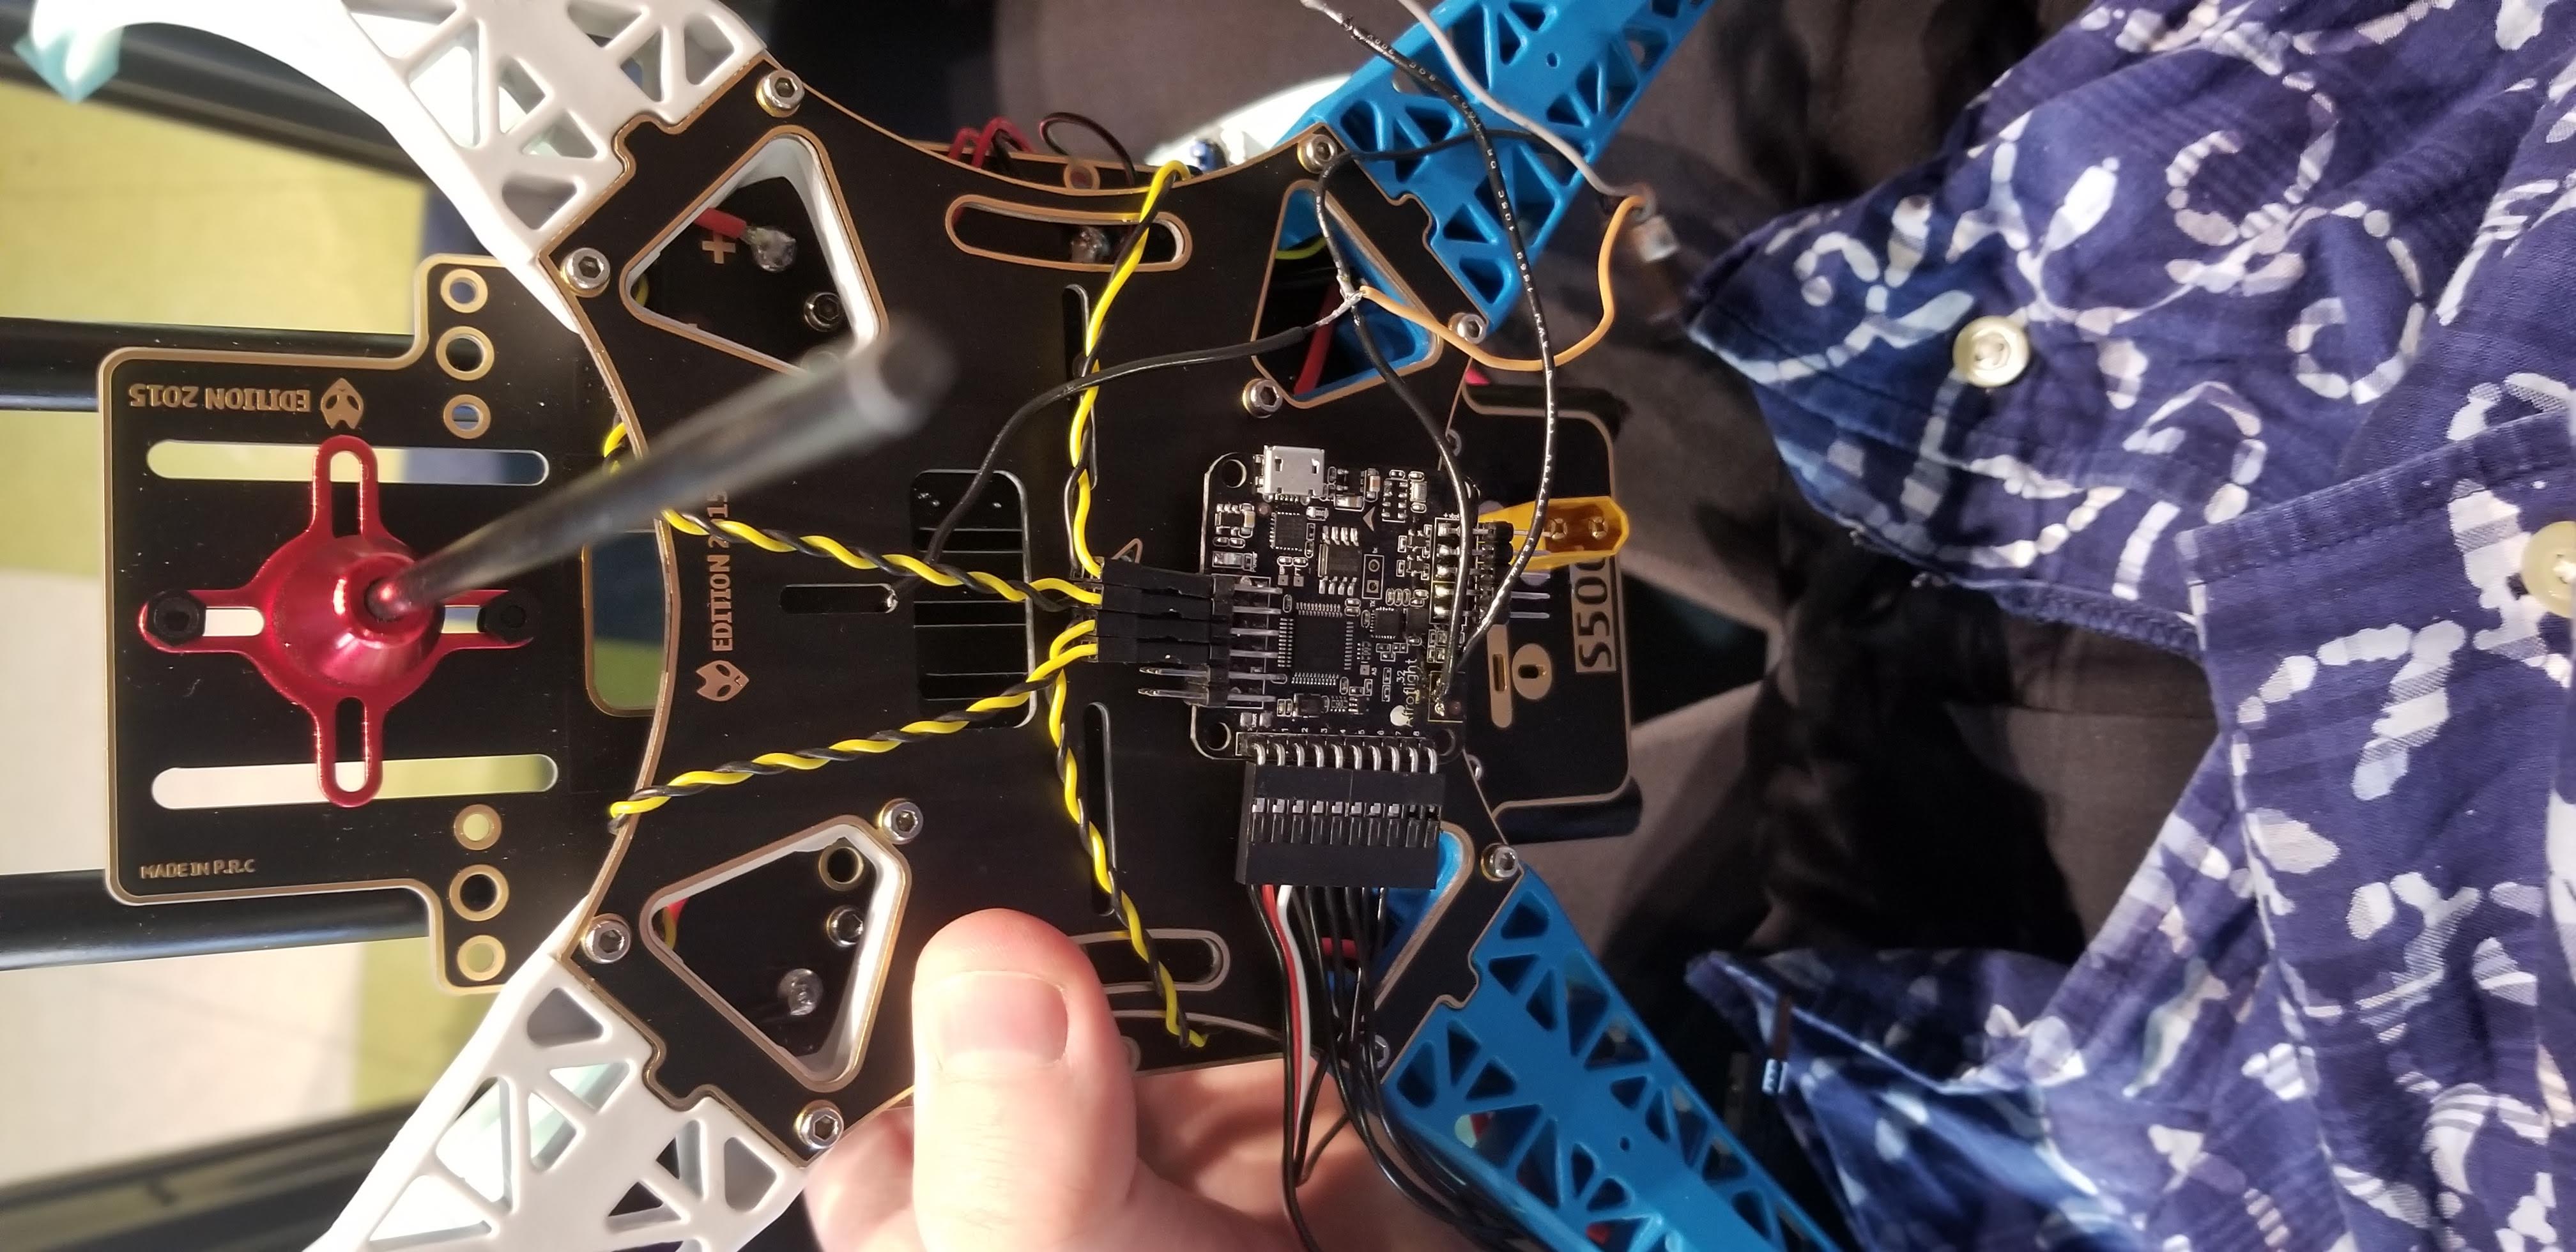
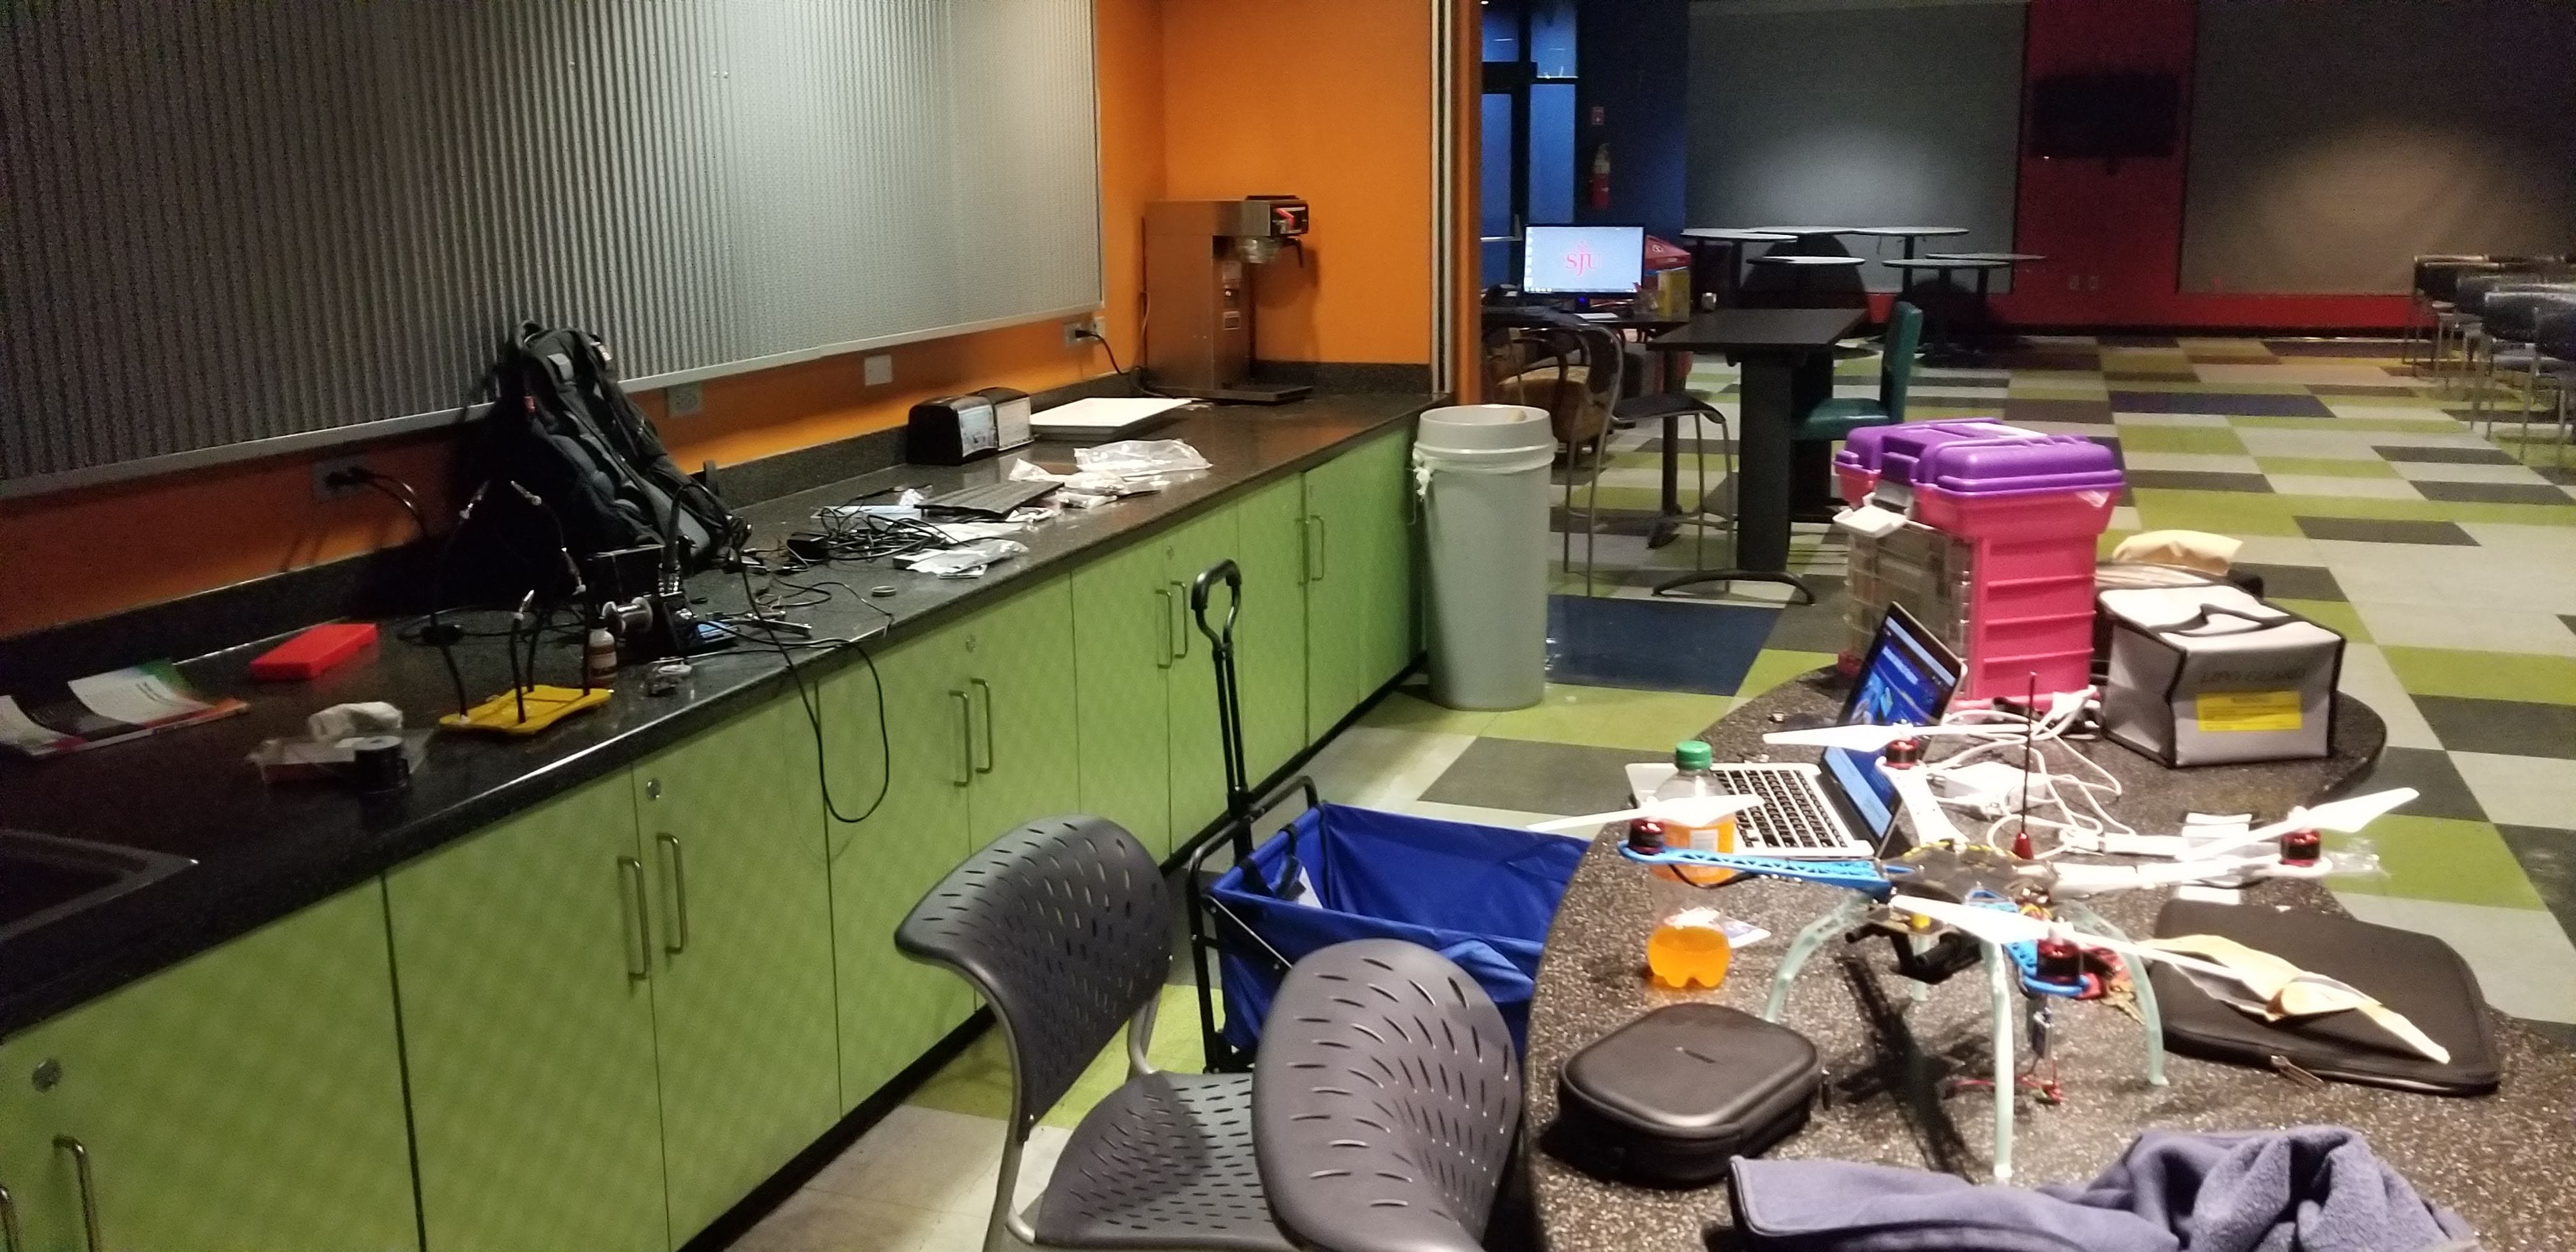
Once I received all my parts, I started assembling the drone. This was a lot of fun because I was learning how each individual part played a role in the drone. There were a few instances in previous electronics projects where I released magic smoke in my room. I knew there was greater risk using a high-powered LiPo battery and didn’t want to burn down my dorm so I decided to work on my project elsewhere. Since Saint Joe’s doesn’t have a building dedicated where I could solder or even an engineering school, I decided to use the Perch, the campus student lounge late at night. It helped that I worked there as well and had access to the closets, where I stored my parts when I went back to my dorm early in the morning. In the unlikely case something sets off an alarm, I’d be the only one in there.
As the due date for the project drew closer, I was spending a majority of my time in the Perch whether it was between classes, late into the night, or simply to work my shift. It became an exhilarating schedule. During the day I was at class, doing boring homework for other classes, or running community programs for my floor as an RA. At night, I was working on the drone well into the early hours of the morning. I don’t think any of my friends really knew what I was up to. My schedule of waking up late and staying up really late meant I was on a completely different schedule than anyone else. I rarely even went out my last semester because I wanted to see this project through. Sometimes the nights were longer than anticpated and I ended up sleeping through my 9:30 the next morning (sorry Dr. Brown!) but eventually I had something working. The code was based on TensorFlow’s examples and Edje Electronics repos. The code would open a stream on the night camera, and check the labels in each frame. If one of the labels was a human, the result was logged to a file and a text message would be sent.
After working on the drone for a few weeks, one night everything came together. I finally hacked something that worked and was ready to test it out. I left the Perch sometime around 1 am and headed to the field hockey field on the Merion side of campus in pitch dark. I armed the drone and propellers began to spin slowly. My heart began to race. The Raspberry Pi and night camera were hastily bounded to the drone with cheap zip ties and rattled. I slowly pushed the thrust joystick as slowly as possible and the drone became animated and full of life. It sprung up about 50 feet into the air almost instantly. I quickly realized that I would need to change the sensitivity settings. I was initially worried that battery wouldn’t be strong enough to power both the drone and the Pi, but the opposite turned out to be the case: the battery was too powerful. And it didn’t help that I was new to flying drones aside from the cheap, 20 dollar drone that had a fraction of the power this one possessed. The drone was way too sensitive to fly.
In matter of seconds the only visible part of the drone was the red LED that flashed against the black sky and the loud hum was a faint whisper. I was afraid it would get too high, lose connection, and fall back down to Earth completely broken so I had to act accordingly. The plan was to release the thrust completely and push the thrust again once the drone got closer to the ground once again. Of course, that was the plan. What actually happened was the drone fell so fast that by the time I pushed the thruster forward, the drone was falling down too fast to catch itself and two of its landing feet broke.
The second run was more chaotic than the first. I was able to solve the drone’s height stability issue by switching to ‘easy mode’ which set the drone to a certain height and allowed the user to control its 2D coordinates. The controls were still jerky but I managed to get it flying. I don’t know how fast my drone could go but a quick Google search for 3S drones says about 70 miles per hour which seems about right. Eventually I got too confident and got out of easy mode. Big mistake. I tried keeping it at its height but my drones orientation was off. So when I pressed forward on my transmitter, the drone go forward but forward based on its orientation was to go right and head straight towards the Foley Center, which was originally a church filled with glass panes. I then went the other direction and played with the controls in real time, trying to figure out which direction was which. The drone zoomed over me and was headed towards City Ave at a low height. I was certain it would hit a car! My reflexes veered the drone right for about a third of the field and into the turf. The crash was epic. The drone was cover in turf burn and lost another leg in the process. The drone was literally on its last leg. Surpringly the rest of the parts, including the night camera and Pi were fine.
I flew the drone one last time and set it in autohome mode. While the drone was autohoming I recorded the footage. I was afraid if it crashed anymore, something would break and I wouldn’t have any footage to prove I got it working. I eventually figured out how to tone down the control sensitivity in CleanFlight a few days later. I showcased my drone to my professors and peers. It was generally positive even though by the time I showed off my drone, it was beaten up and covered in turf burns and dust. Eventually I bought a stronger carbon fiber air frame that I eventually plan on using.
Instead of considering the project complete, I considered it just done its first iteration. The project still had many rough edges and the code base was hacked together quickly because I was running out of time. Aside from that the drone relied on Wifi to send text messages which was unreliable when flying. I wanted to add a cellular module to fix this problem but I ran out of money. The rattling camera also proved to be unreliable in detecting humans but I see it as an opportunity to learn about gimbals. Perhaps it’ll have a gimbal in the next iteration. Overall I would consider it still a proof-of-concept. When I found myself unexpectedly with more freetime, I addressed some of these issues in part two.
Gallery
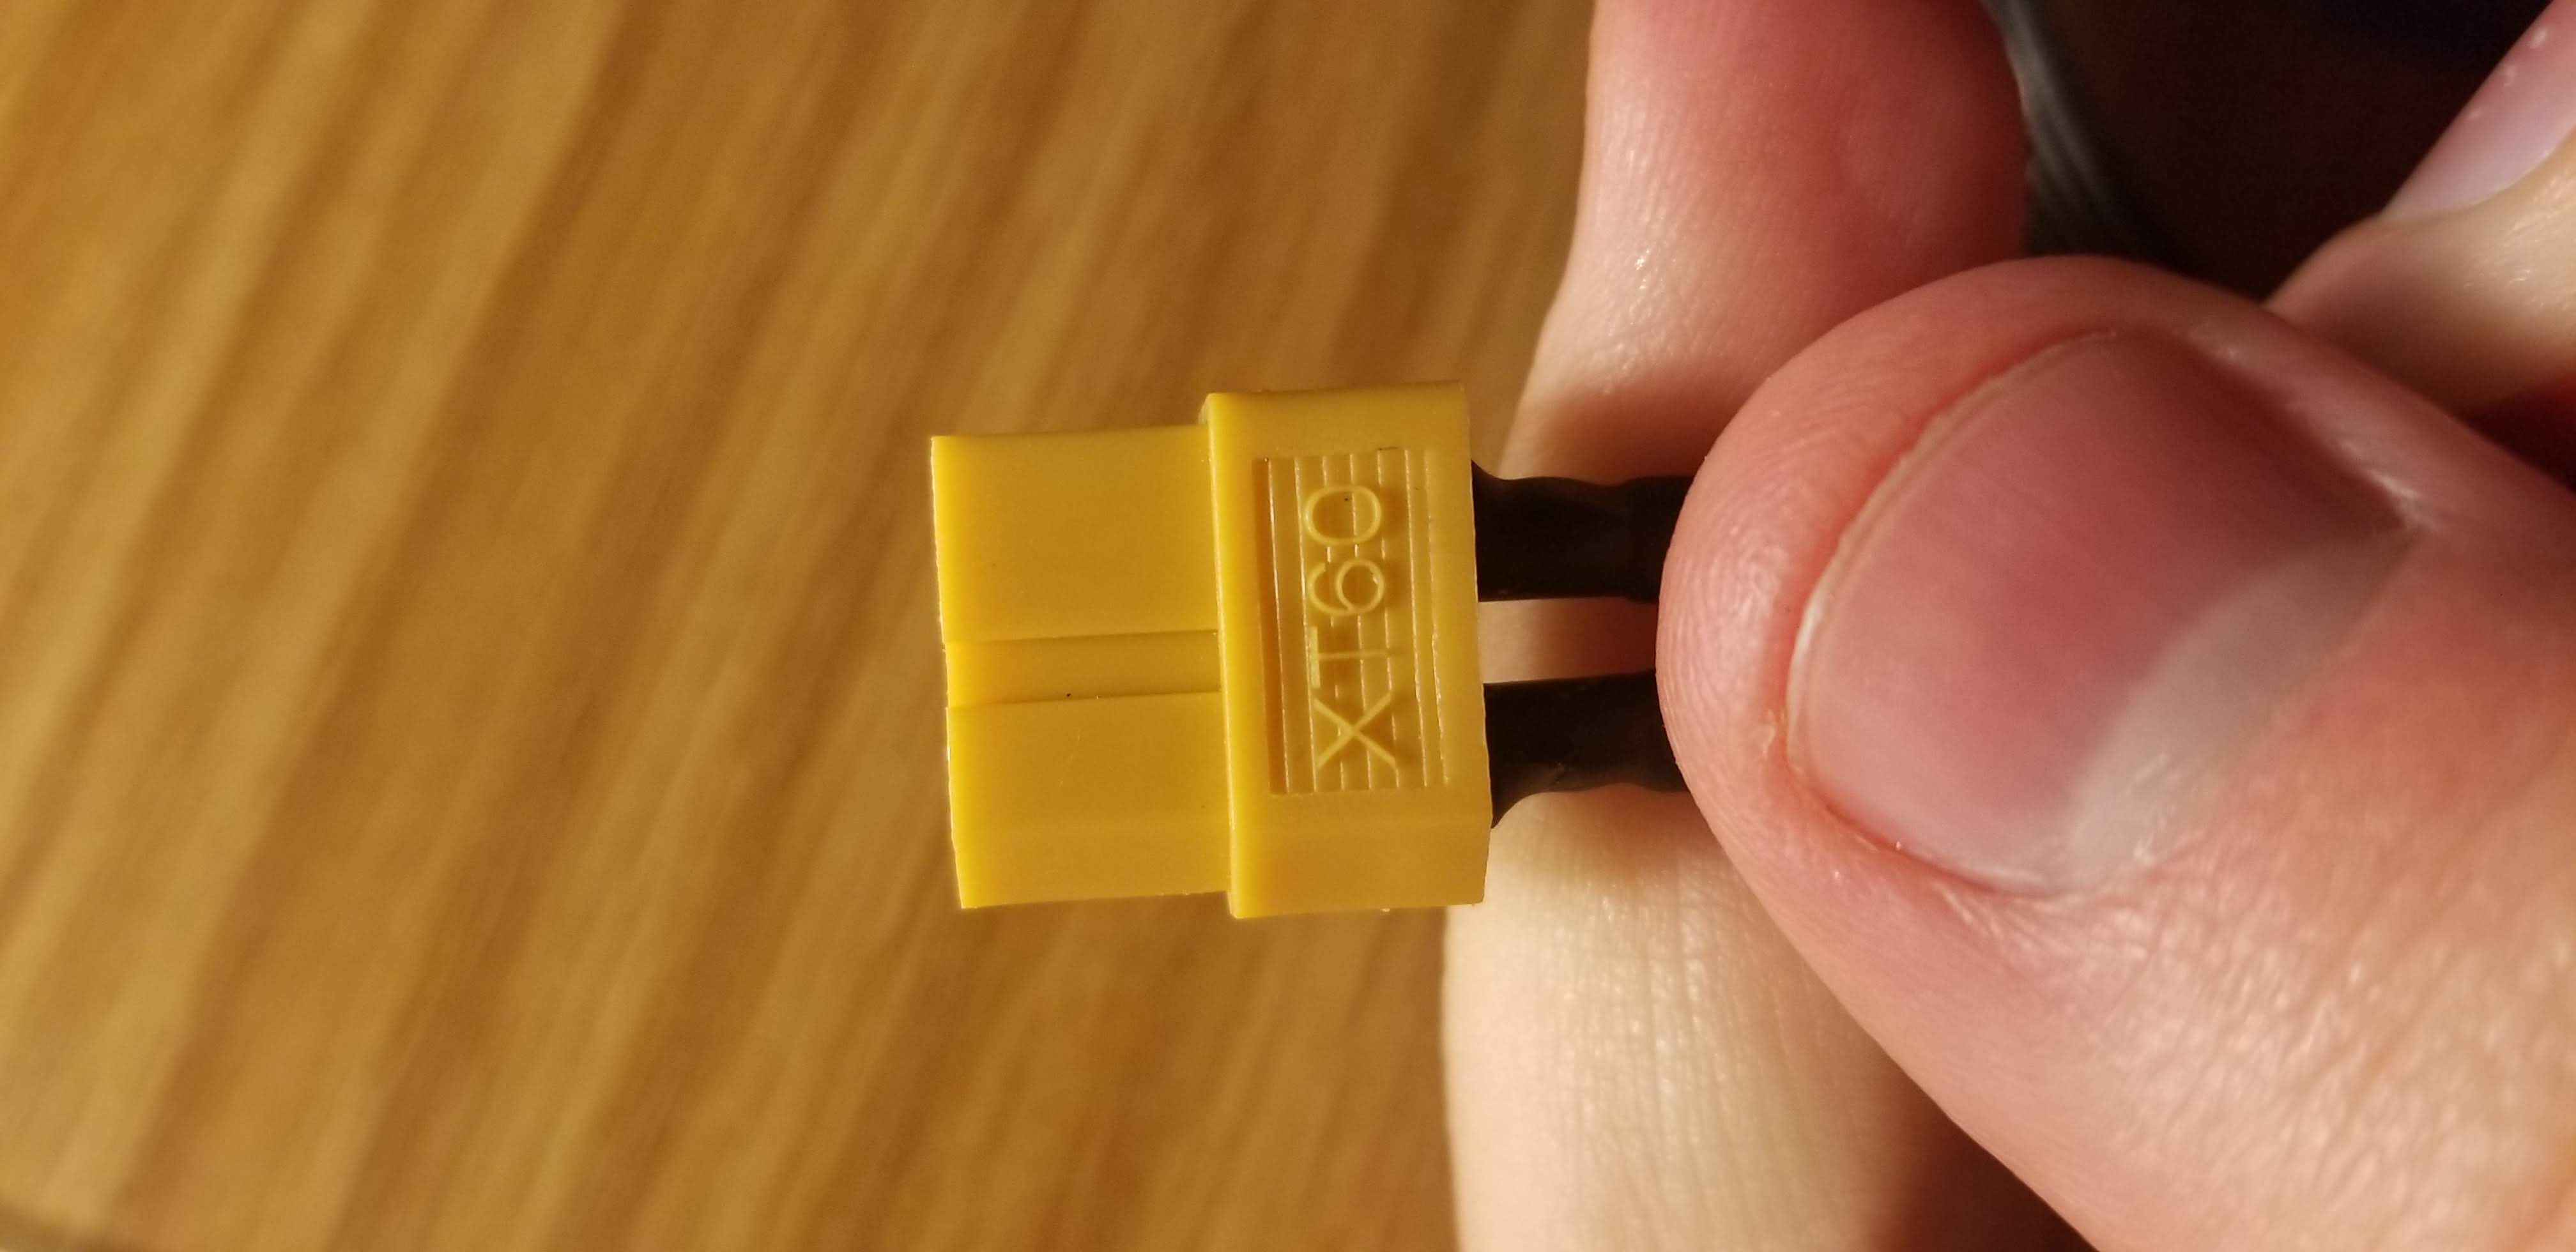
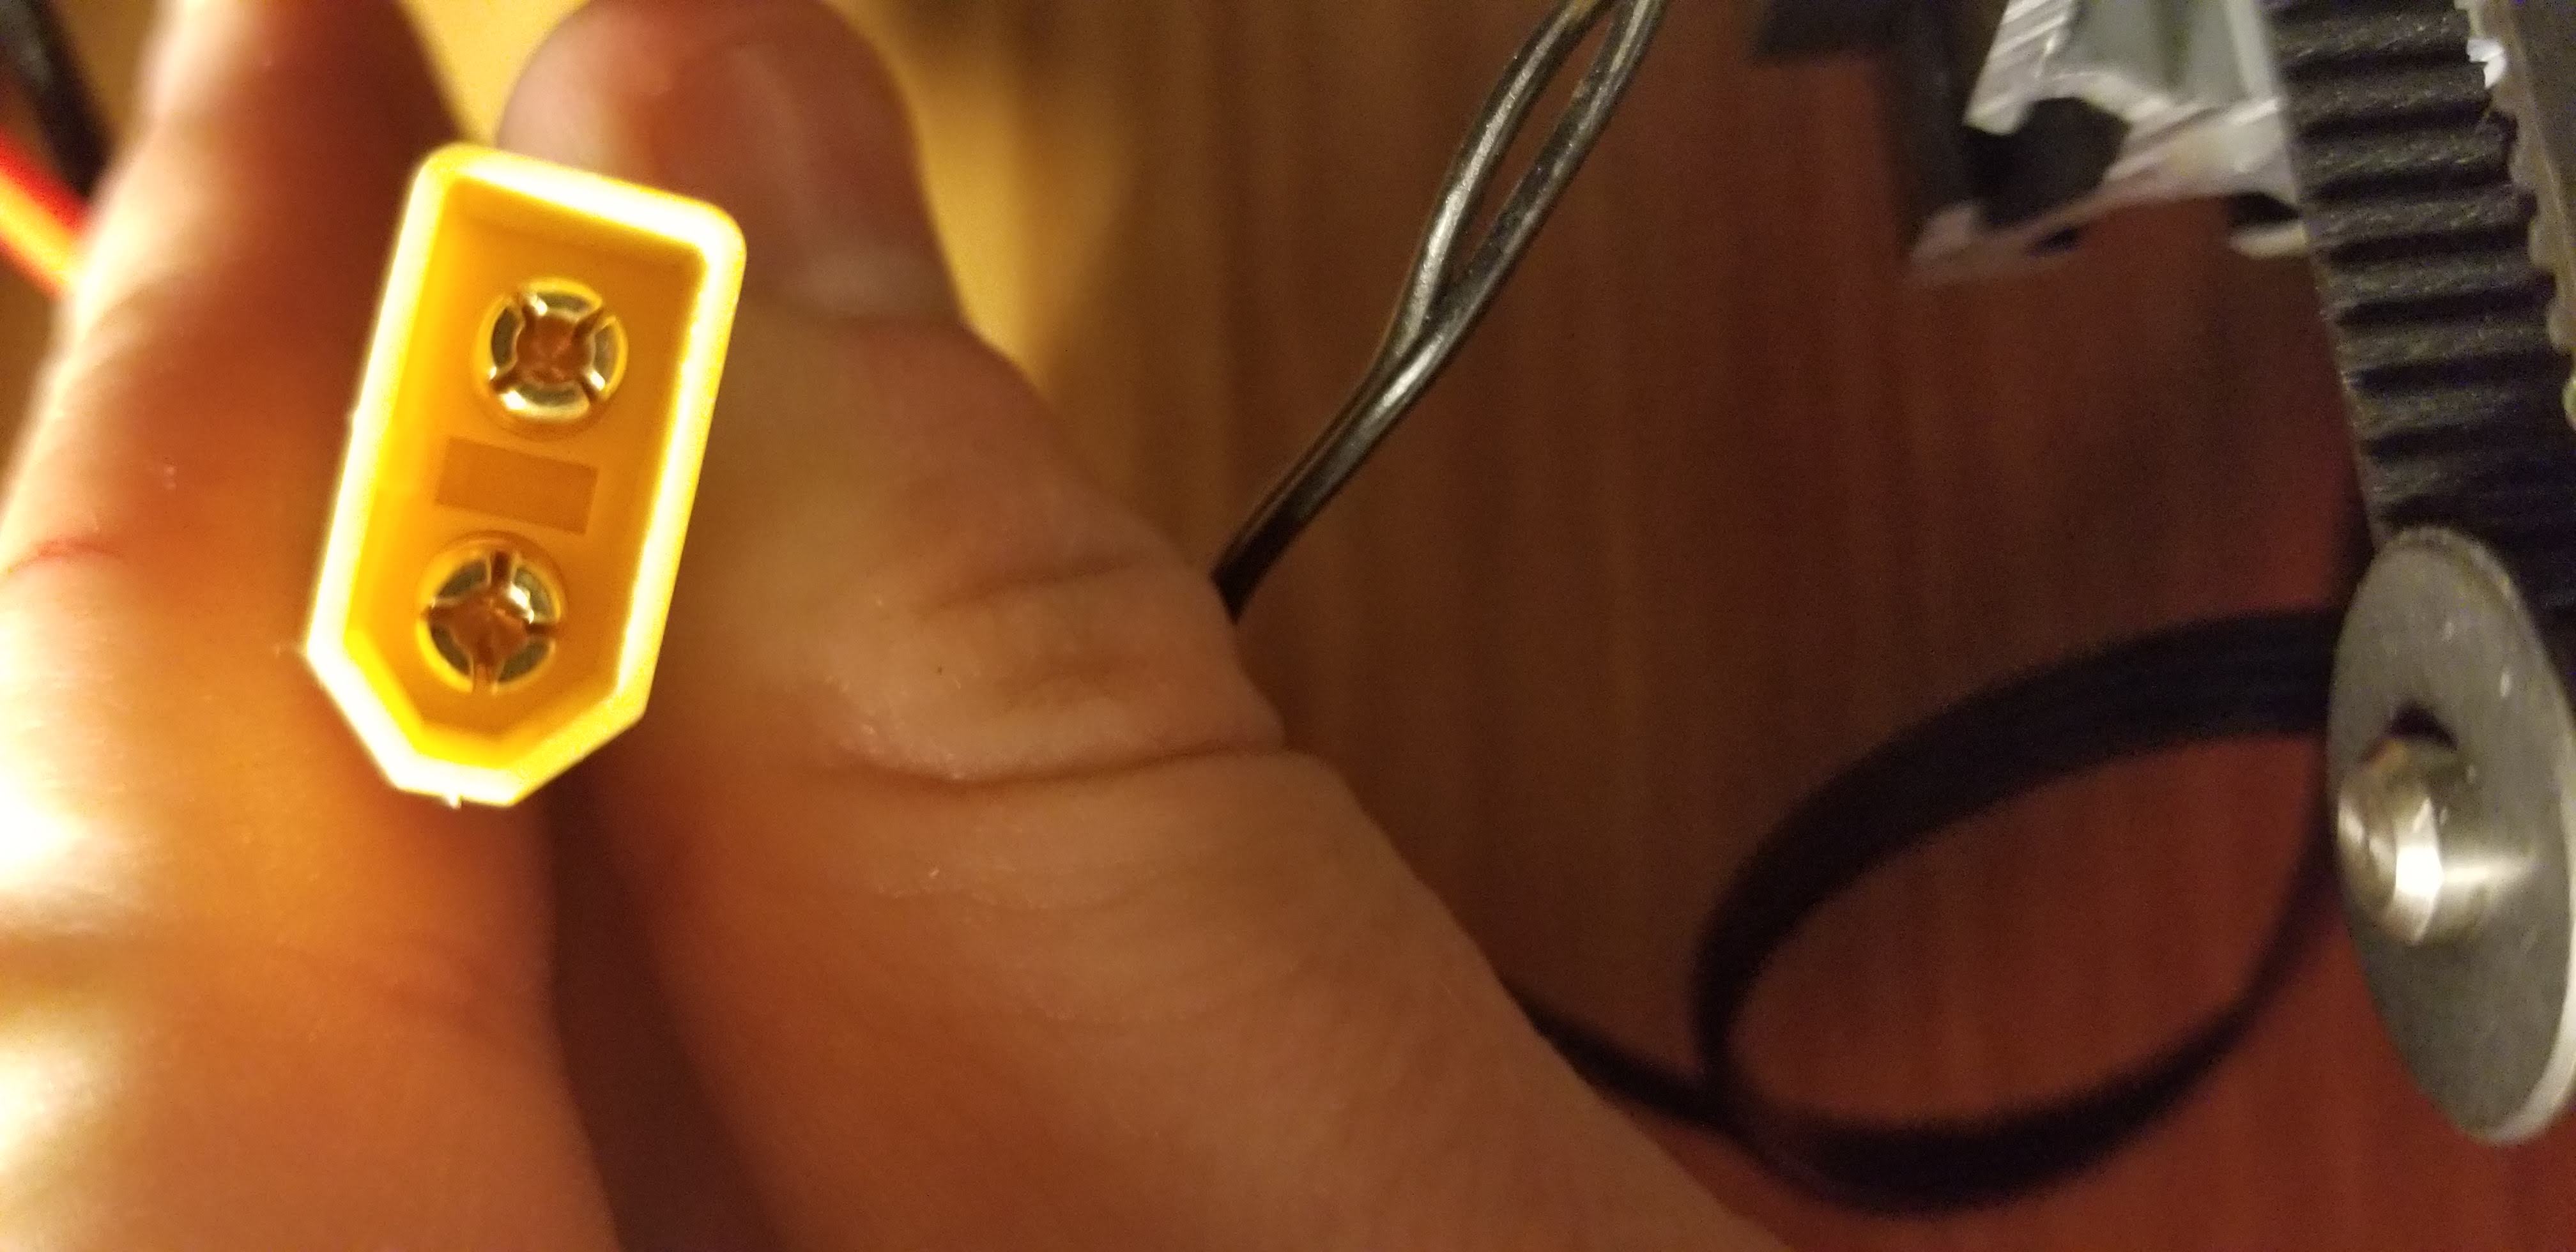
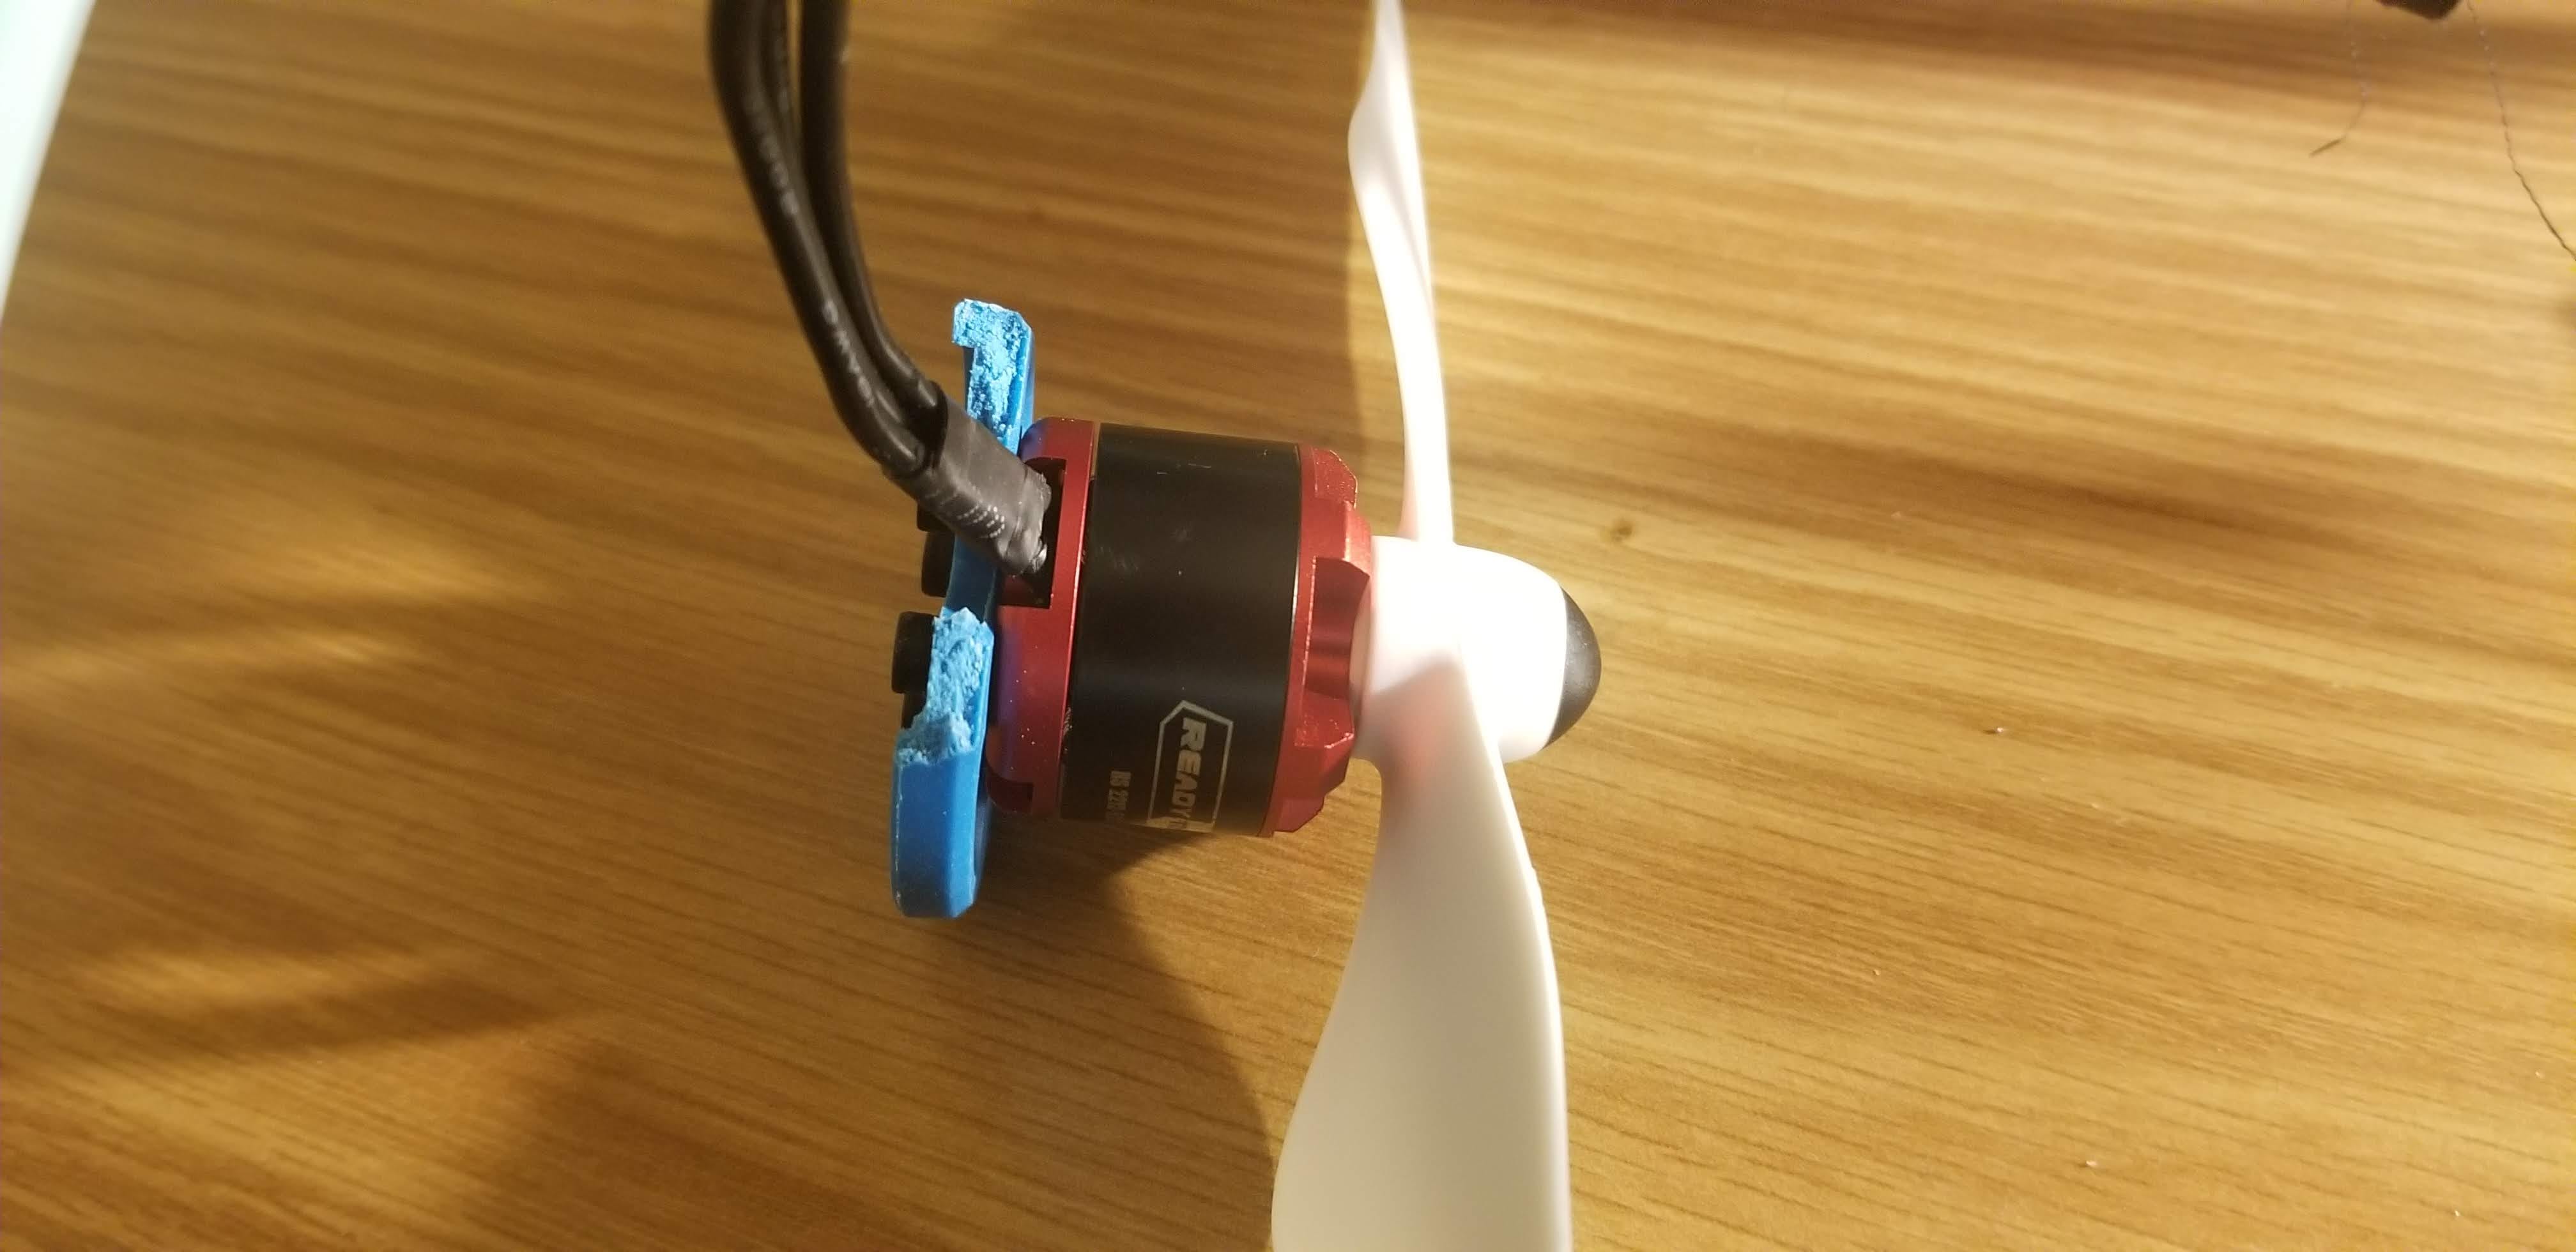
 My LiPo battery did not come with XT60 plugs so I soldered the XT60 plugs
off my 3D printer and attached them to the drone.
My LiPo battery did not come with XT60 plugs so I soldered the XT60 plugs
off my 3D printer and attached them to the drone.


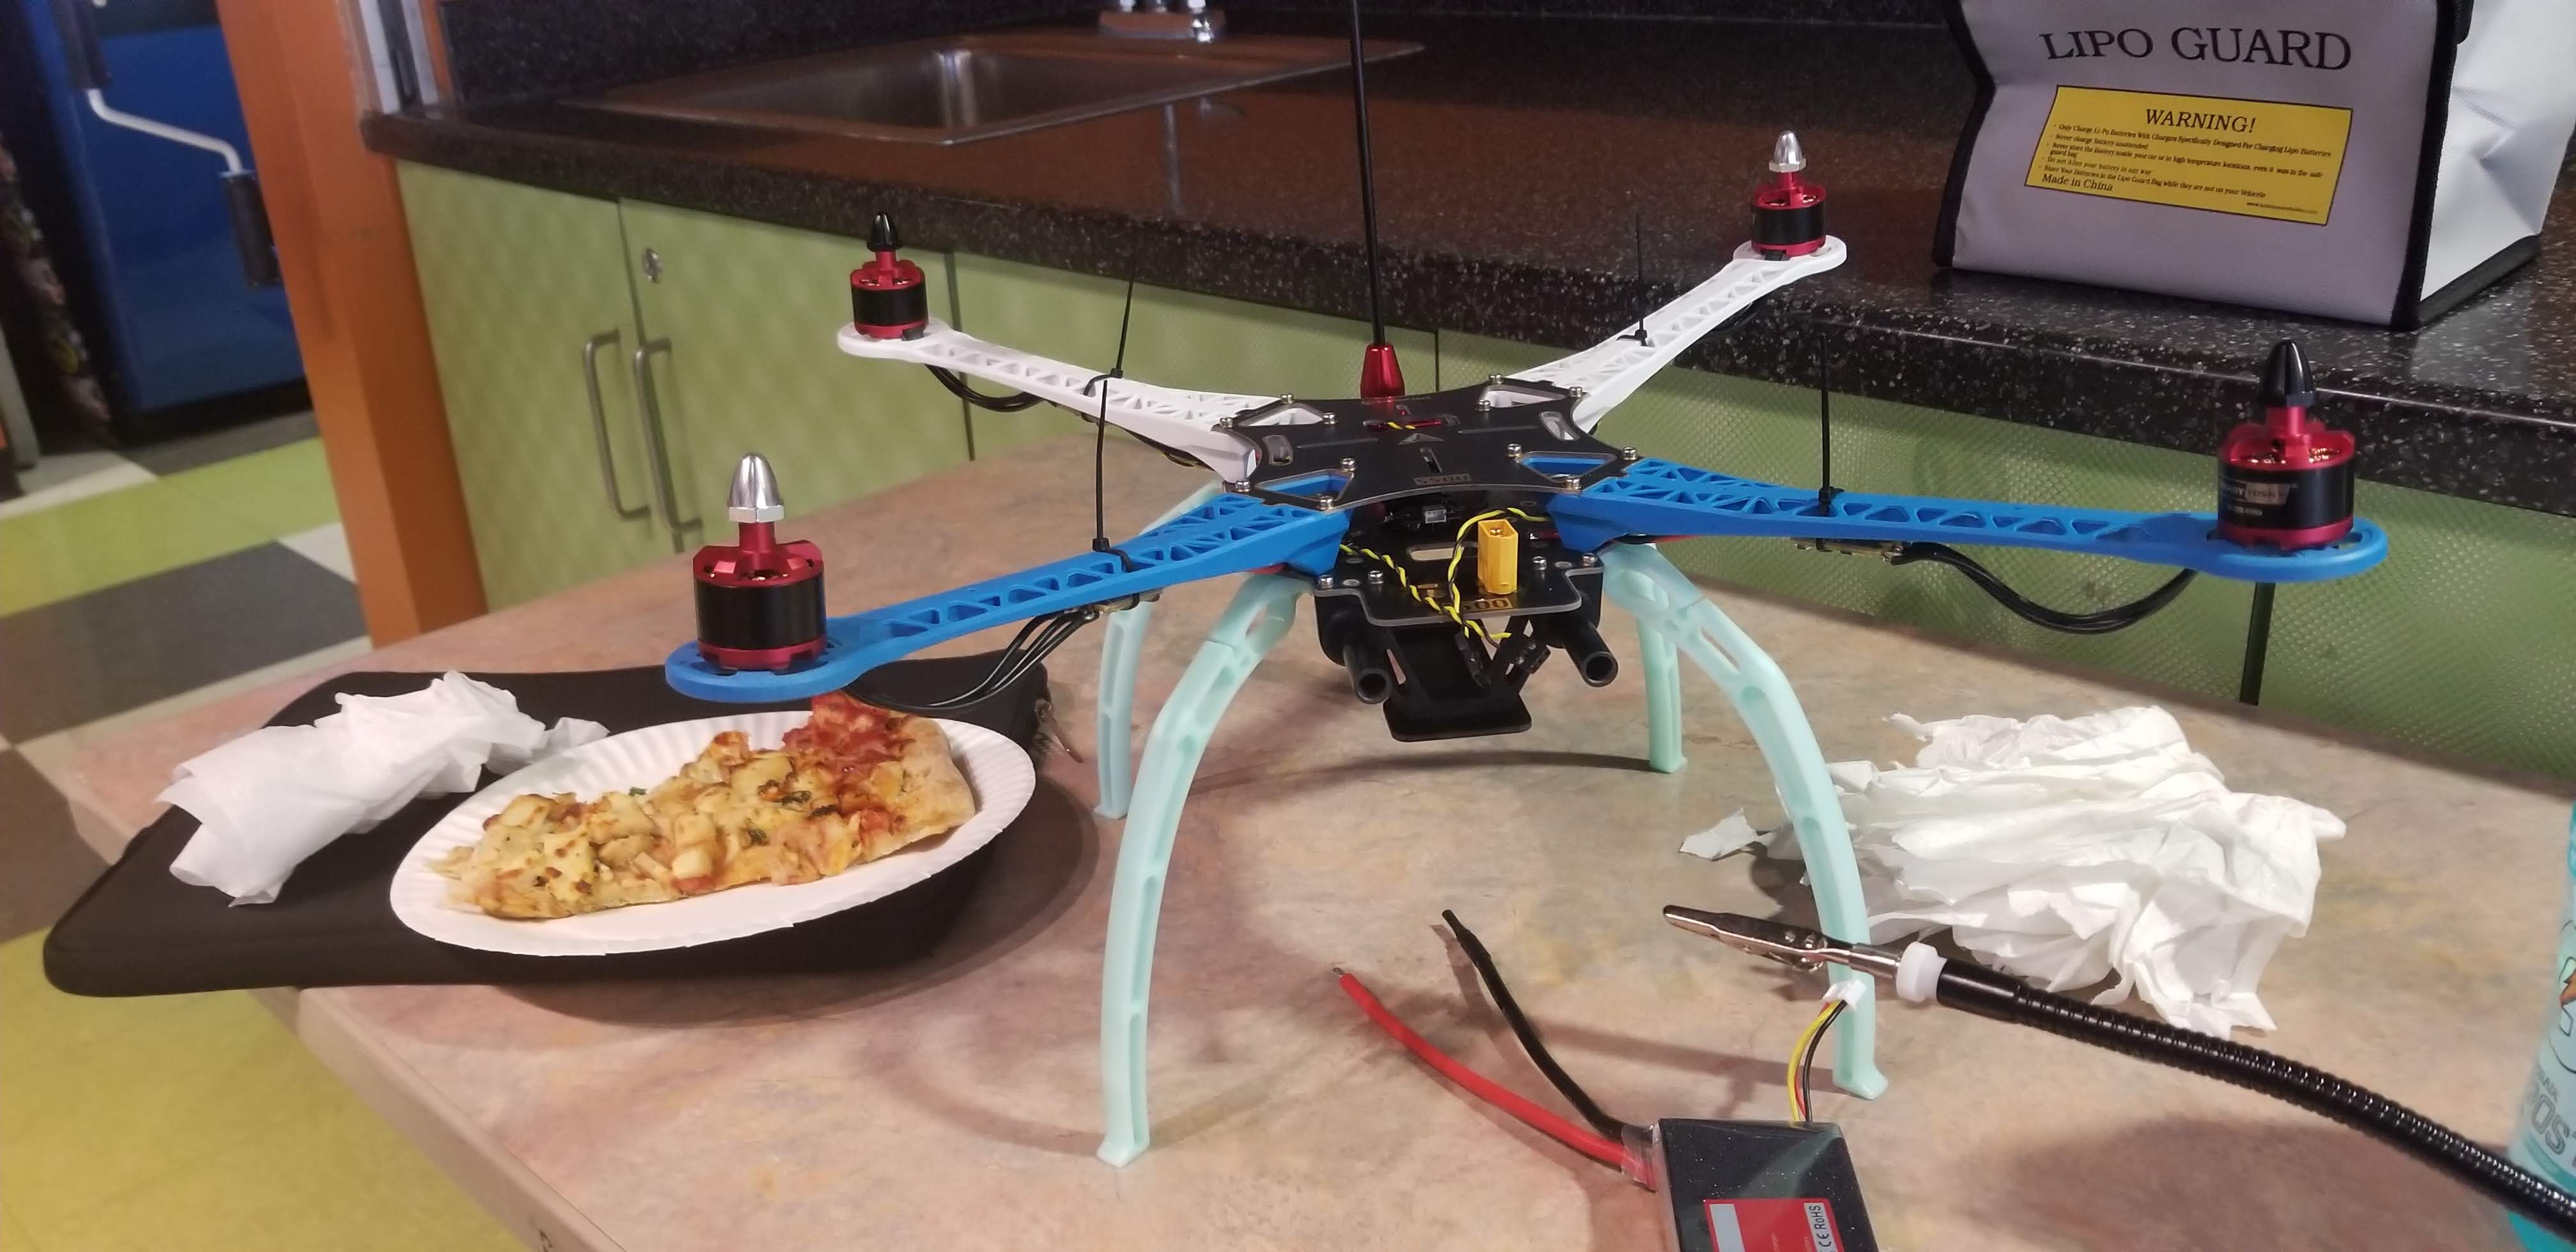 Drone feat. Pizza
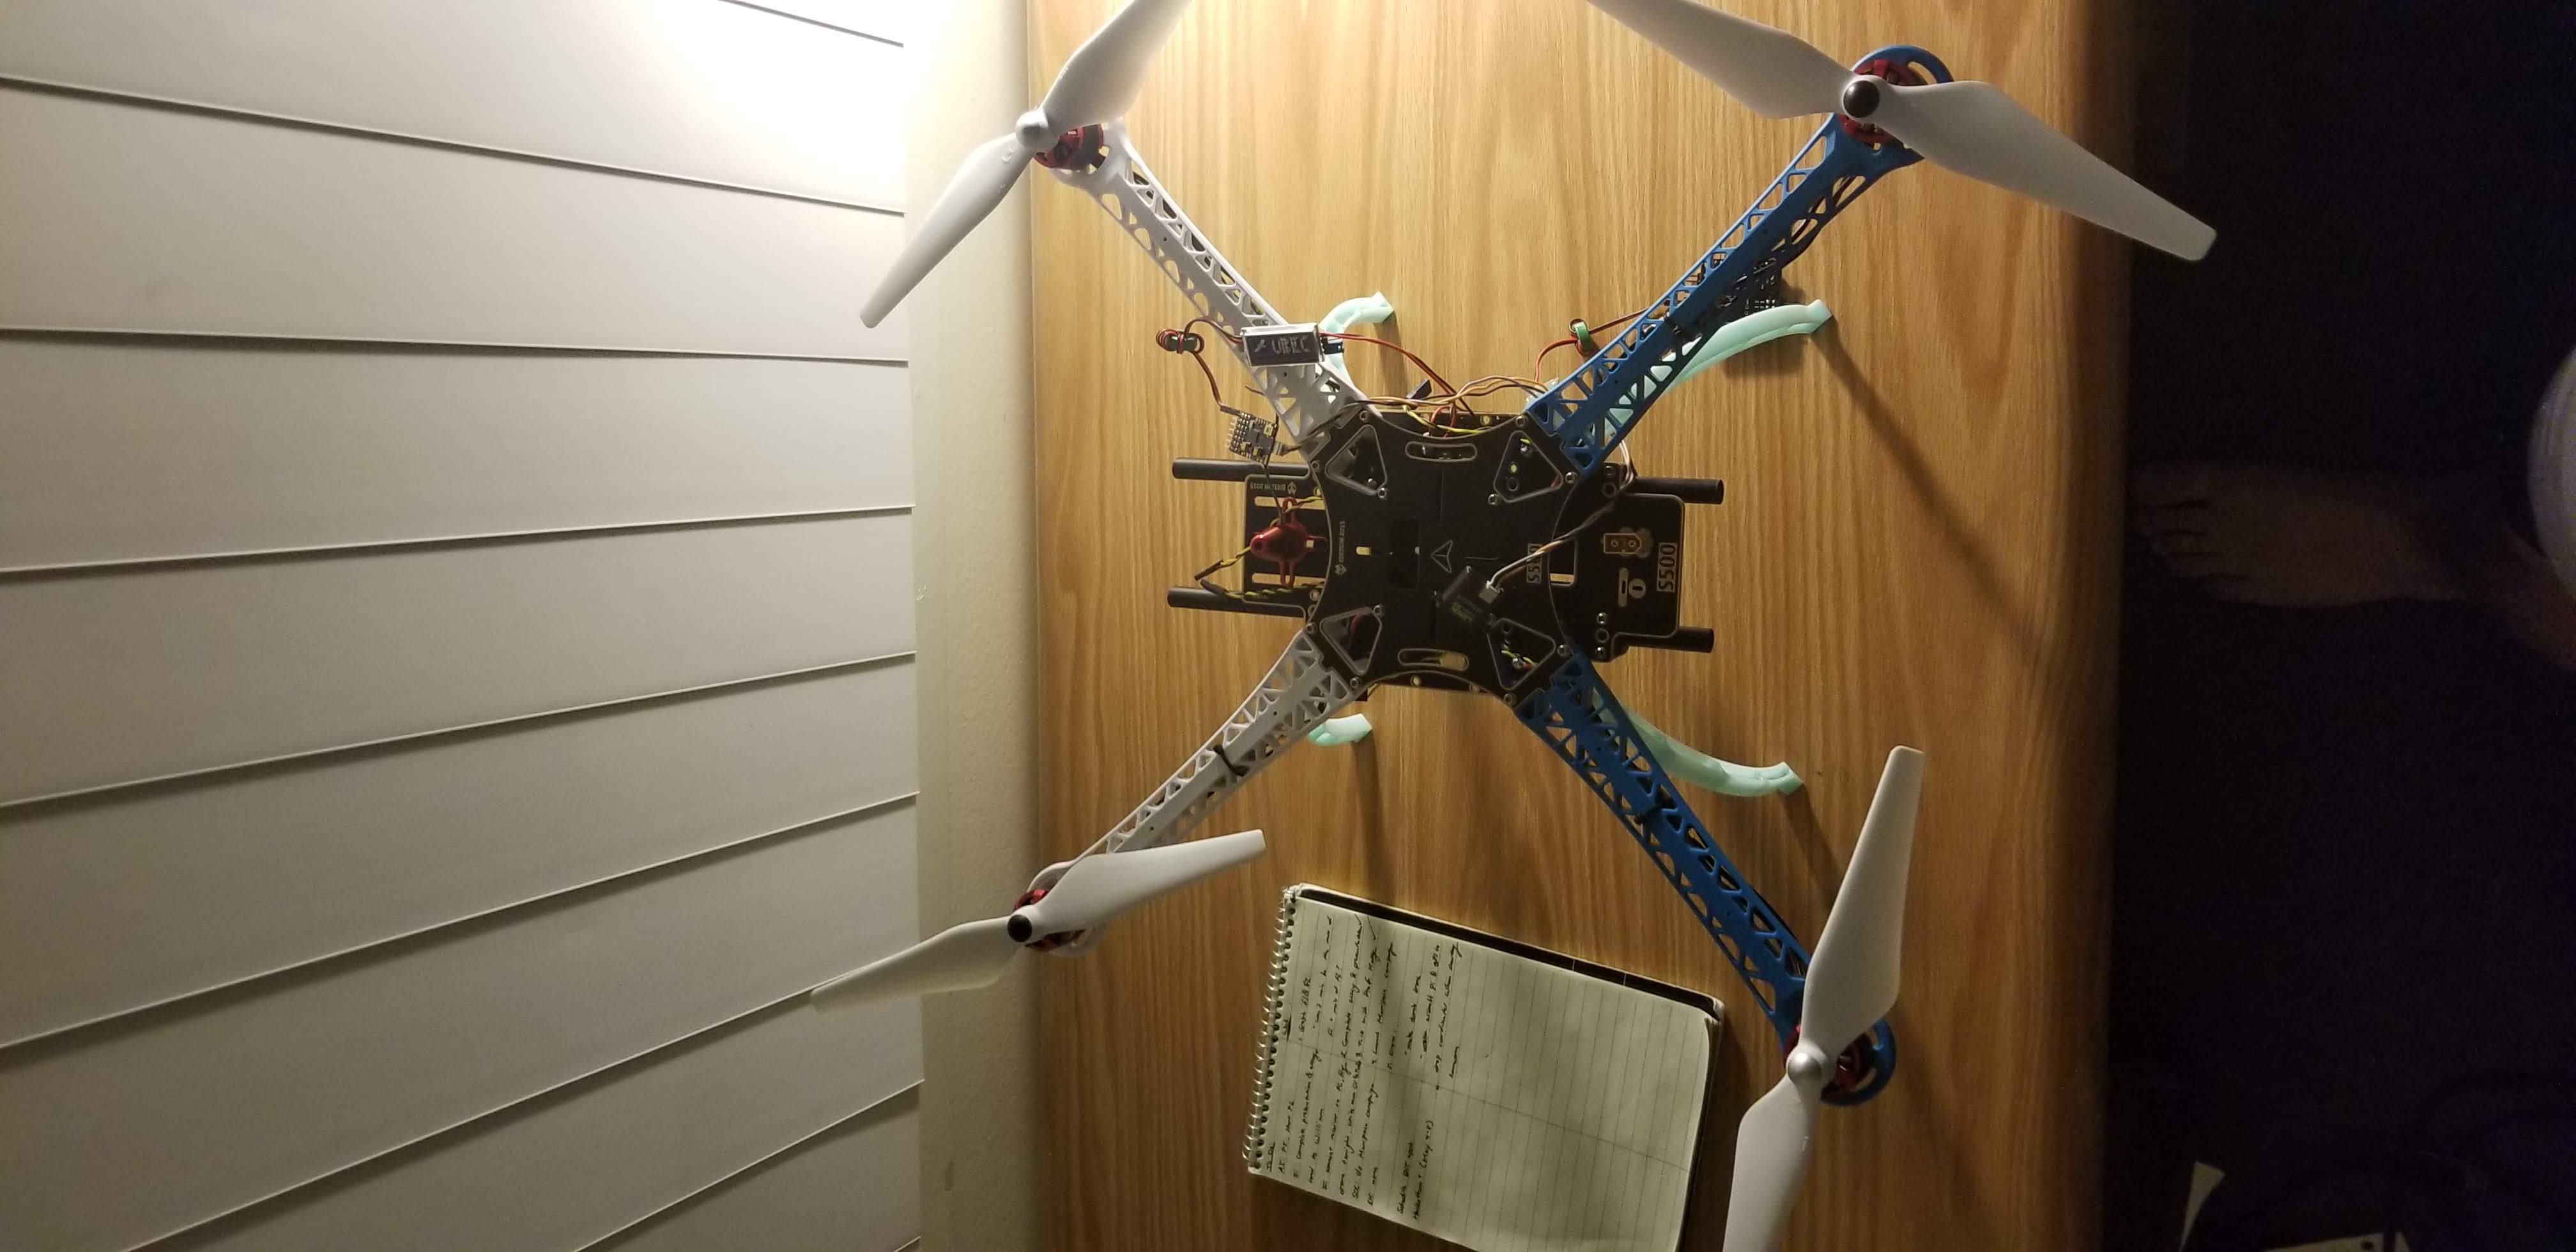
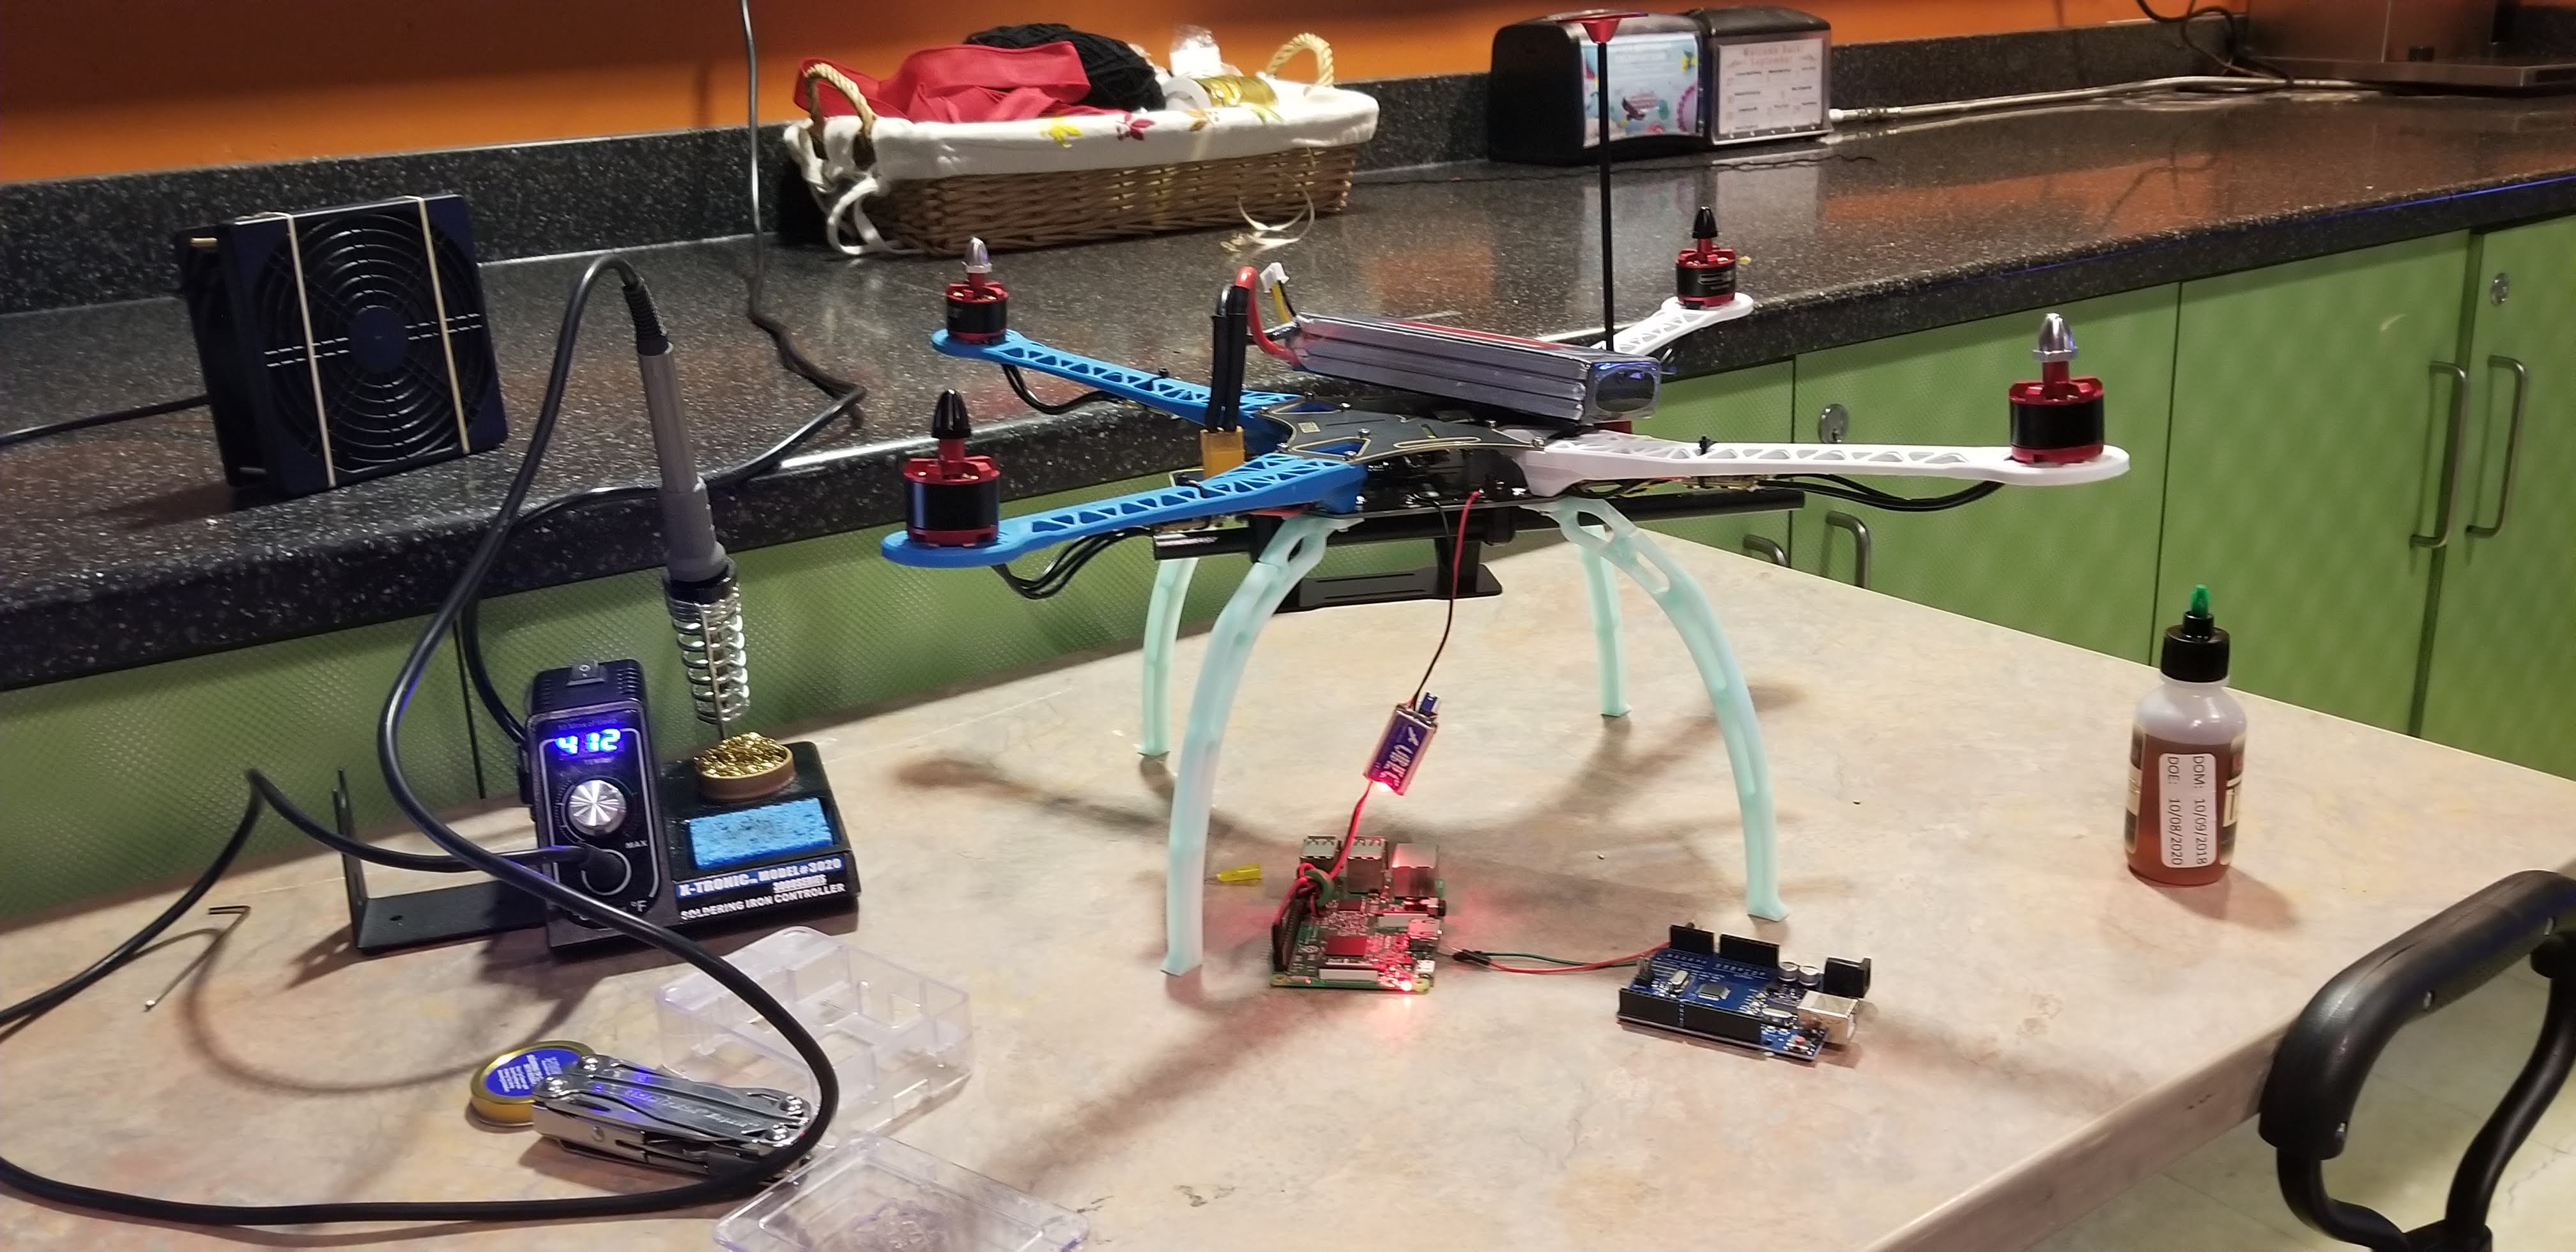 Assembling things late into the night.
 Originally I ordered a Nav32 flight controller. For some reason I couldn’t
get it to communicate with my laptop and transmitter. I don’t remember the
details but I do remember buying the APM2.8 after much frustration.
Originally I ordered a Nav32 flight controller. For some reason I couldn’t
get it to communicate with my laptop and transmitter. I don’t remember the
details but I do remember buying the APM2.8 after much frustration.

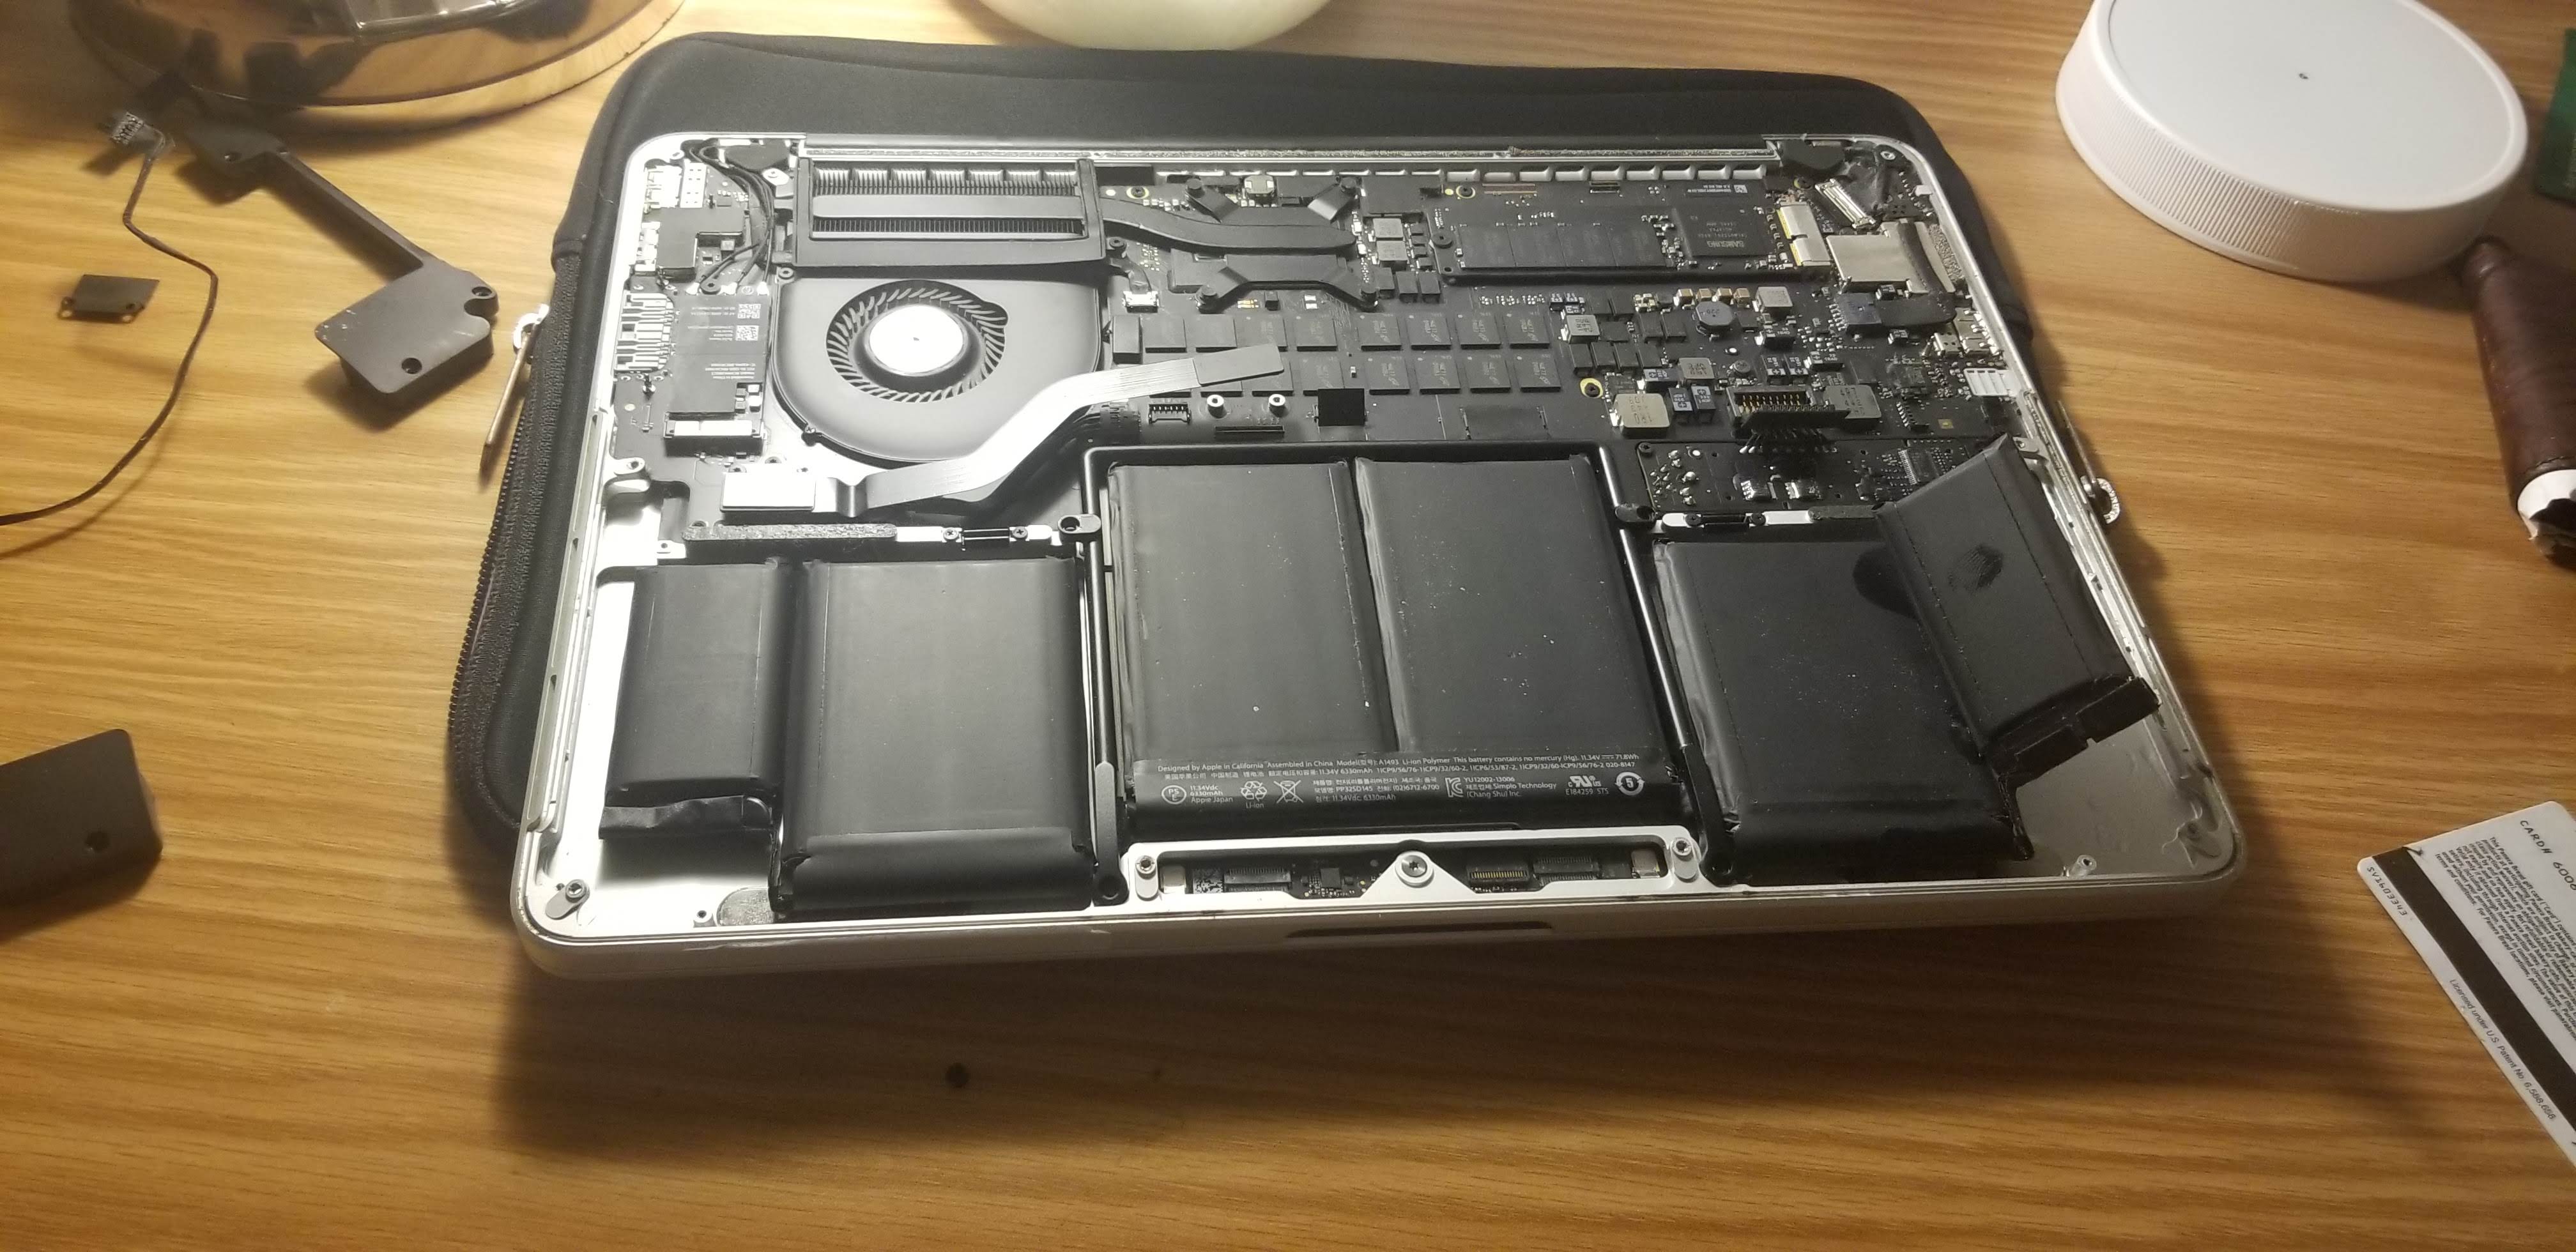 I was following a YouTube video that said is was safe to flash a firmware
to the flight controller while the LiPo battery was connected to the flight
controller. Once I connected my laptop to the drone, my laptop made a popping
noise and I shorted out the motherboard. This was less than one week before
my presentation was due. I ended up going to MicroCenter the next day and
buying a W530 ThinkPad. A few months after graduating I replaced the
motherboard and still use the laptop today.
I was following a YouTube video that said is was safe to flash a firmware
to the flight controller while the LiPo battery was connected to the flight
controller. Once I connected my laptop to the drone, my laptop made a popping
noise and I shorted out the motherboard. This was less than one week before
my presentation was due. I ended up going to MicroCenter the next day and
buying a W530 ThinkPad. A few months after graduating I replaced the
motherboard and still use the laptop today.
 Eventually campus security caught on to me being in The Perch really late
into the night and told me The Perch was closed… even though it’s open 24
hours. I didn’t argue
although I was bummed I would have to work in my crowded room. It didn’t make
much of a difference though since I was done soldering all the components.
Eventually campus security caught on to me being in The Perch really late
into the night and told me The Perch was closed… even though it’s open 24
hours. I didn’t argue
although I was bummed I would have to work in my crowded room. It didn’t make
much of a difference though since I was done soldering all the components.
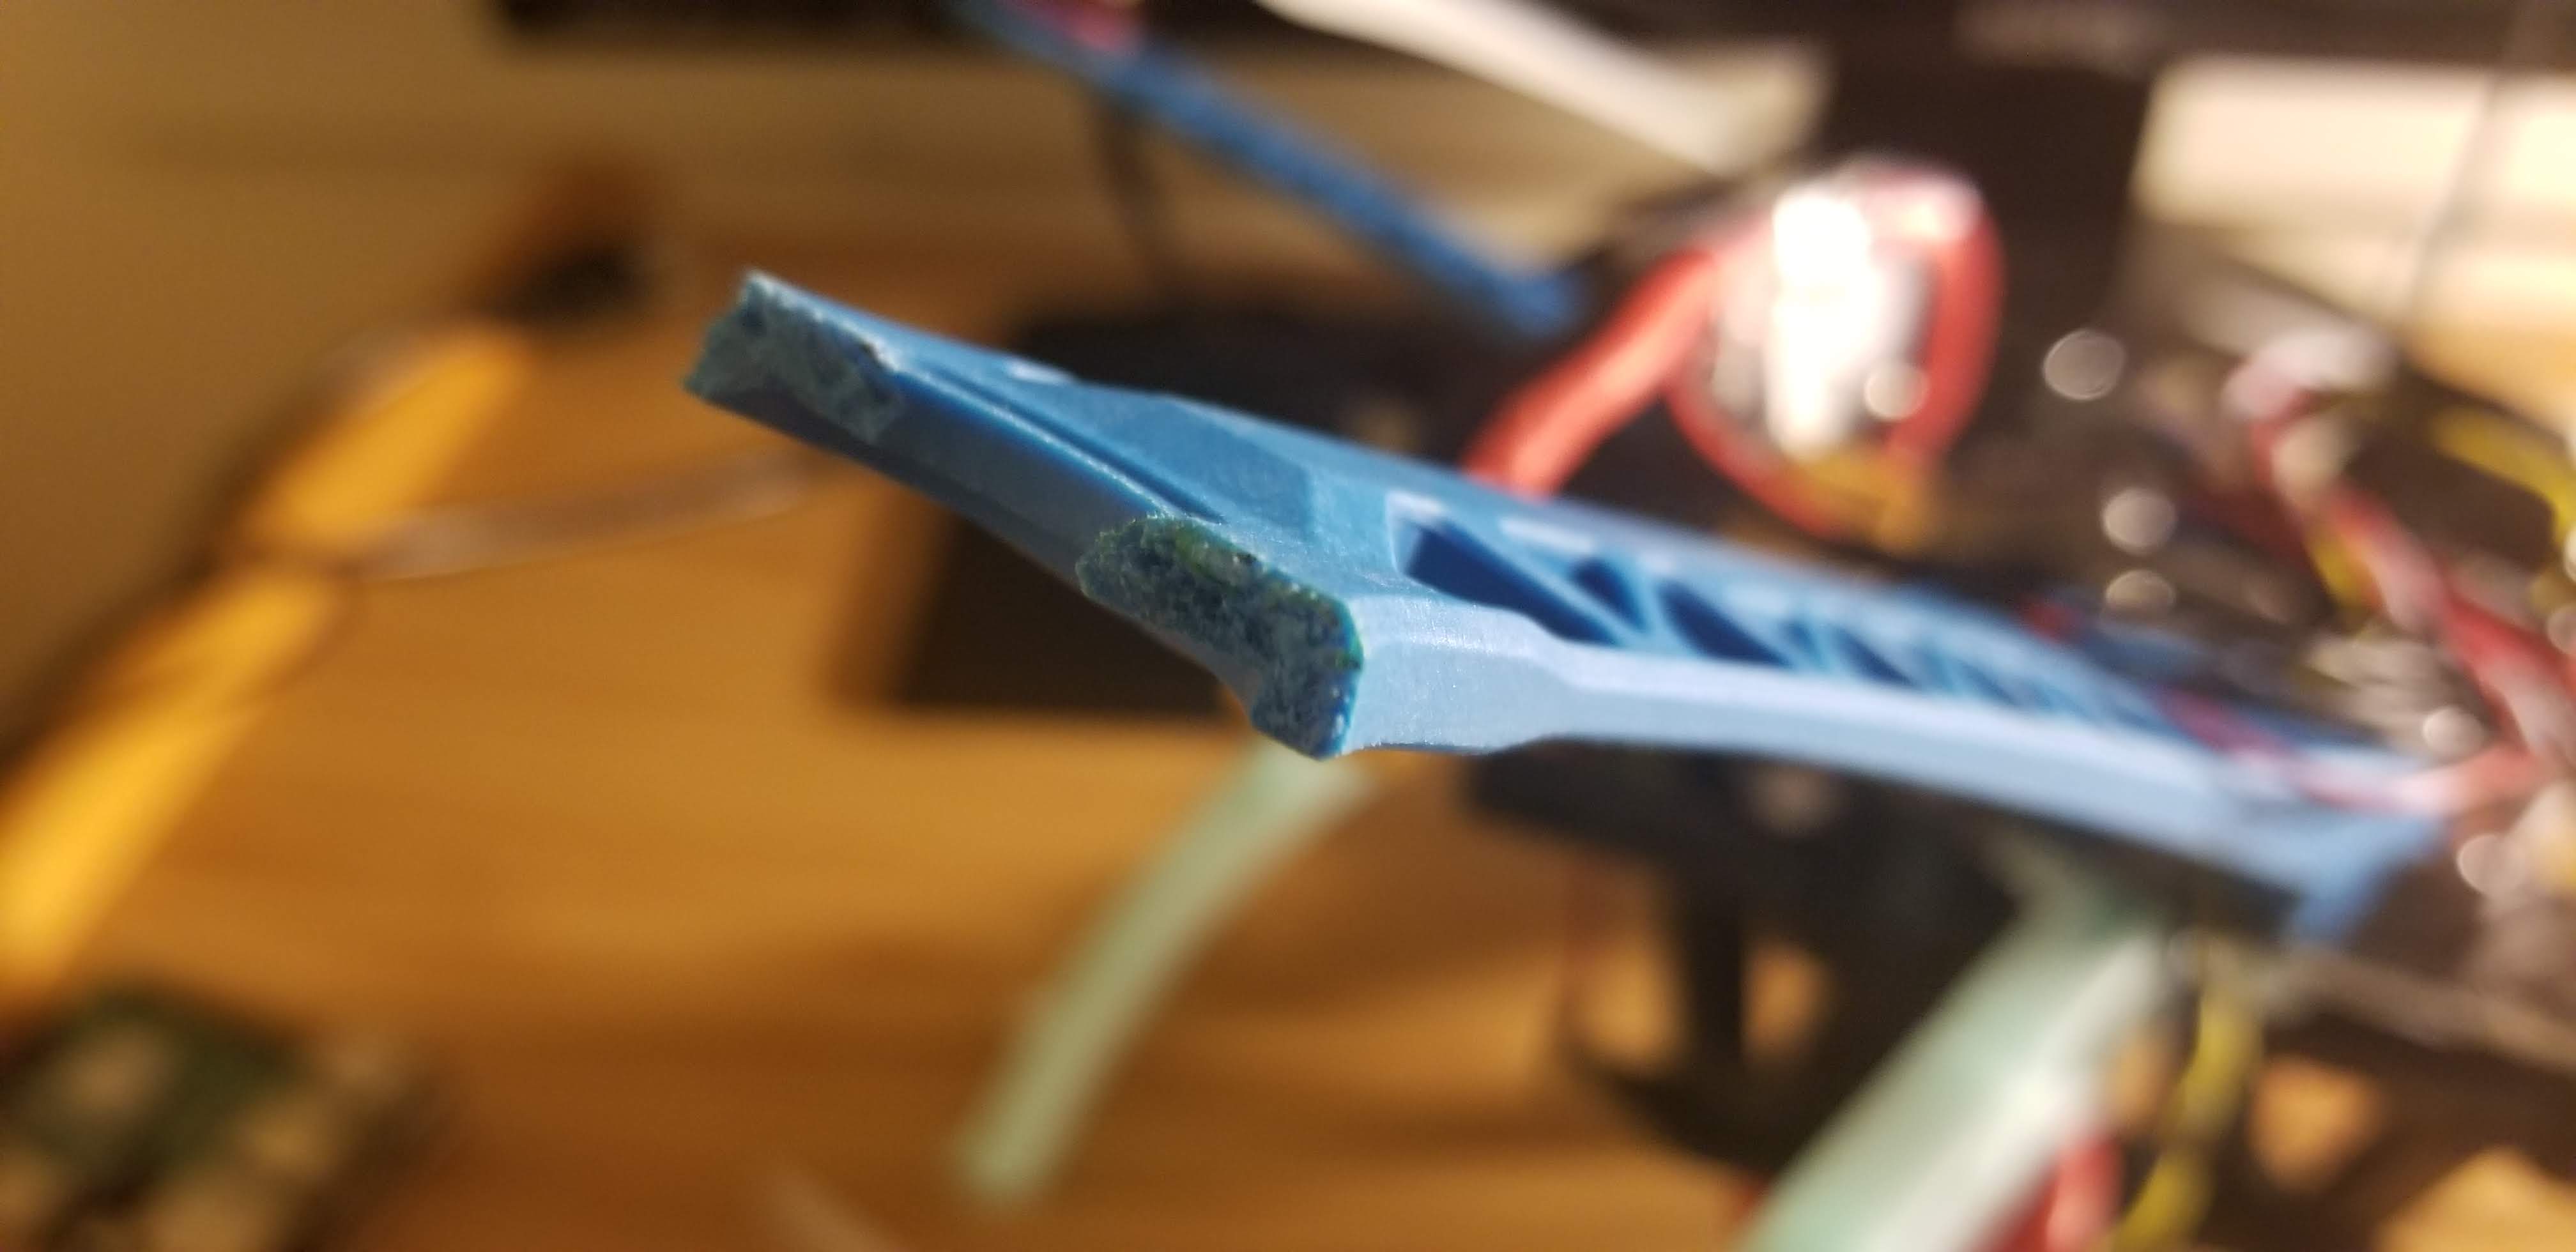
 Gnarly turf burn.
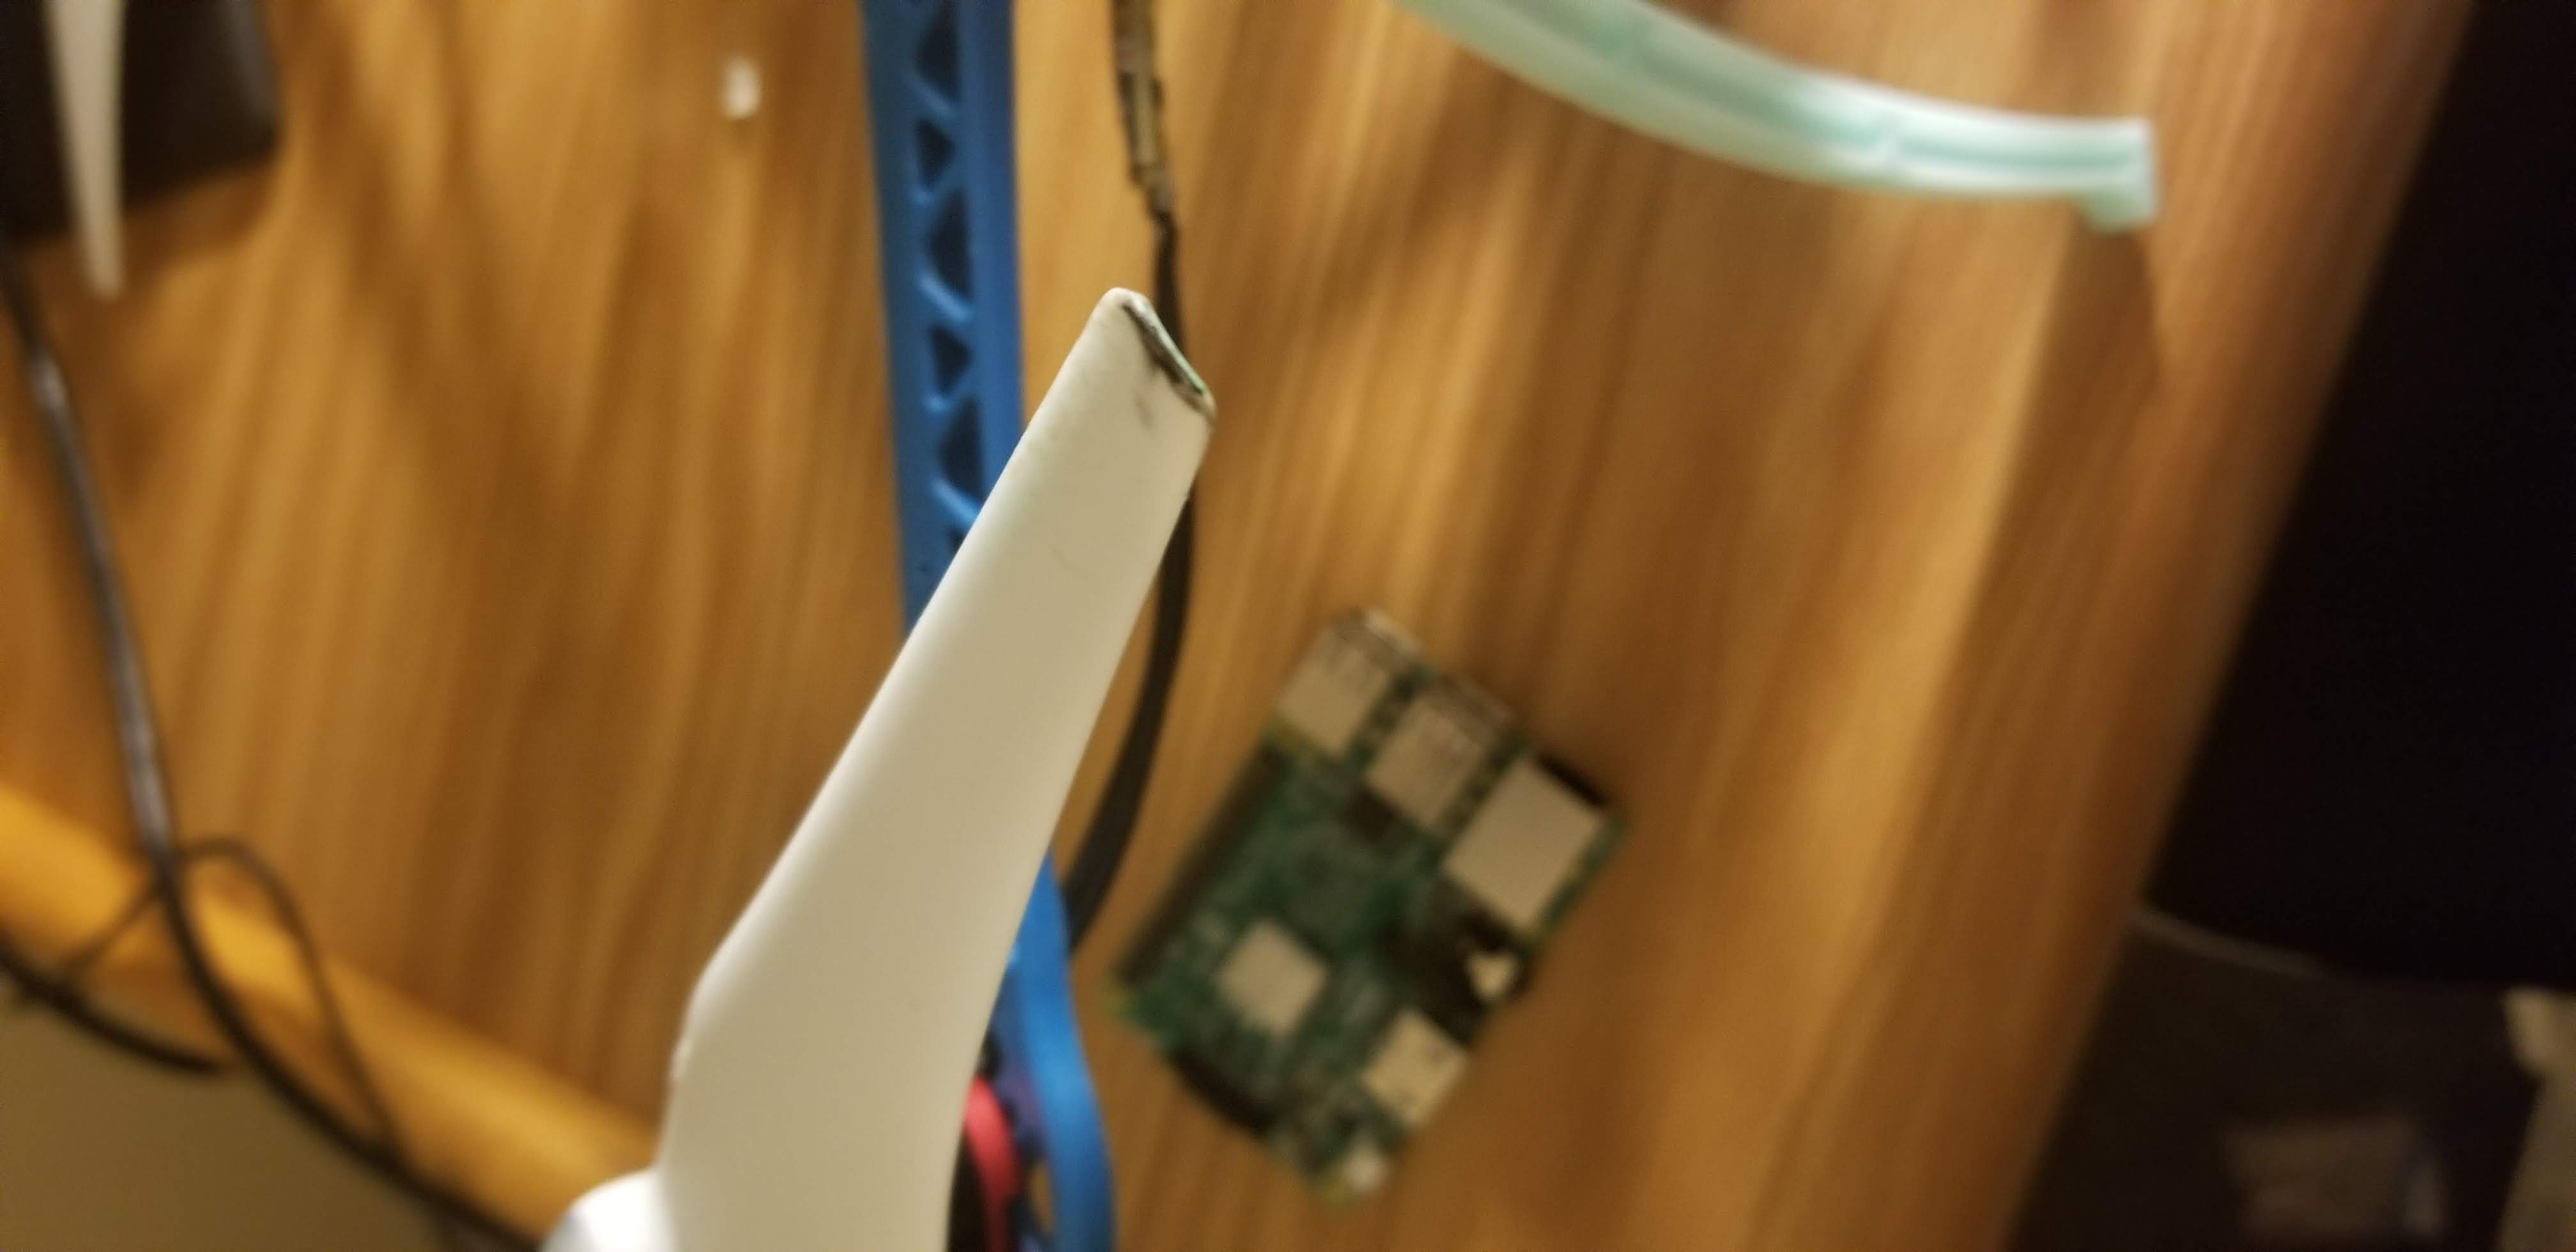
 My attempt to fix my broken air frame was futile. If I could manage to
connect two fragments back together they almost immediately broke when
attempting to fly again due to the motors exerting pressure on the air
frame. I recently purchased a so called carbon fiber version that I hope
My attempt to fix my broken air frame was futile. If I could manage to
connect two fragments back together they almost immediately broke when
attempting to fly again due to the motors exerting pressure on the air
frame. I recently purchased a so called carbon fiber version that I hope
will make up for my reckless flying.
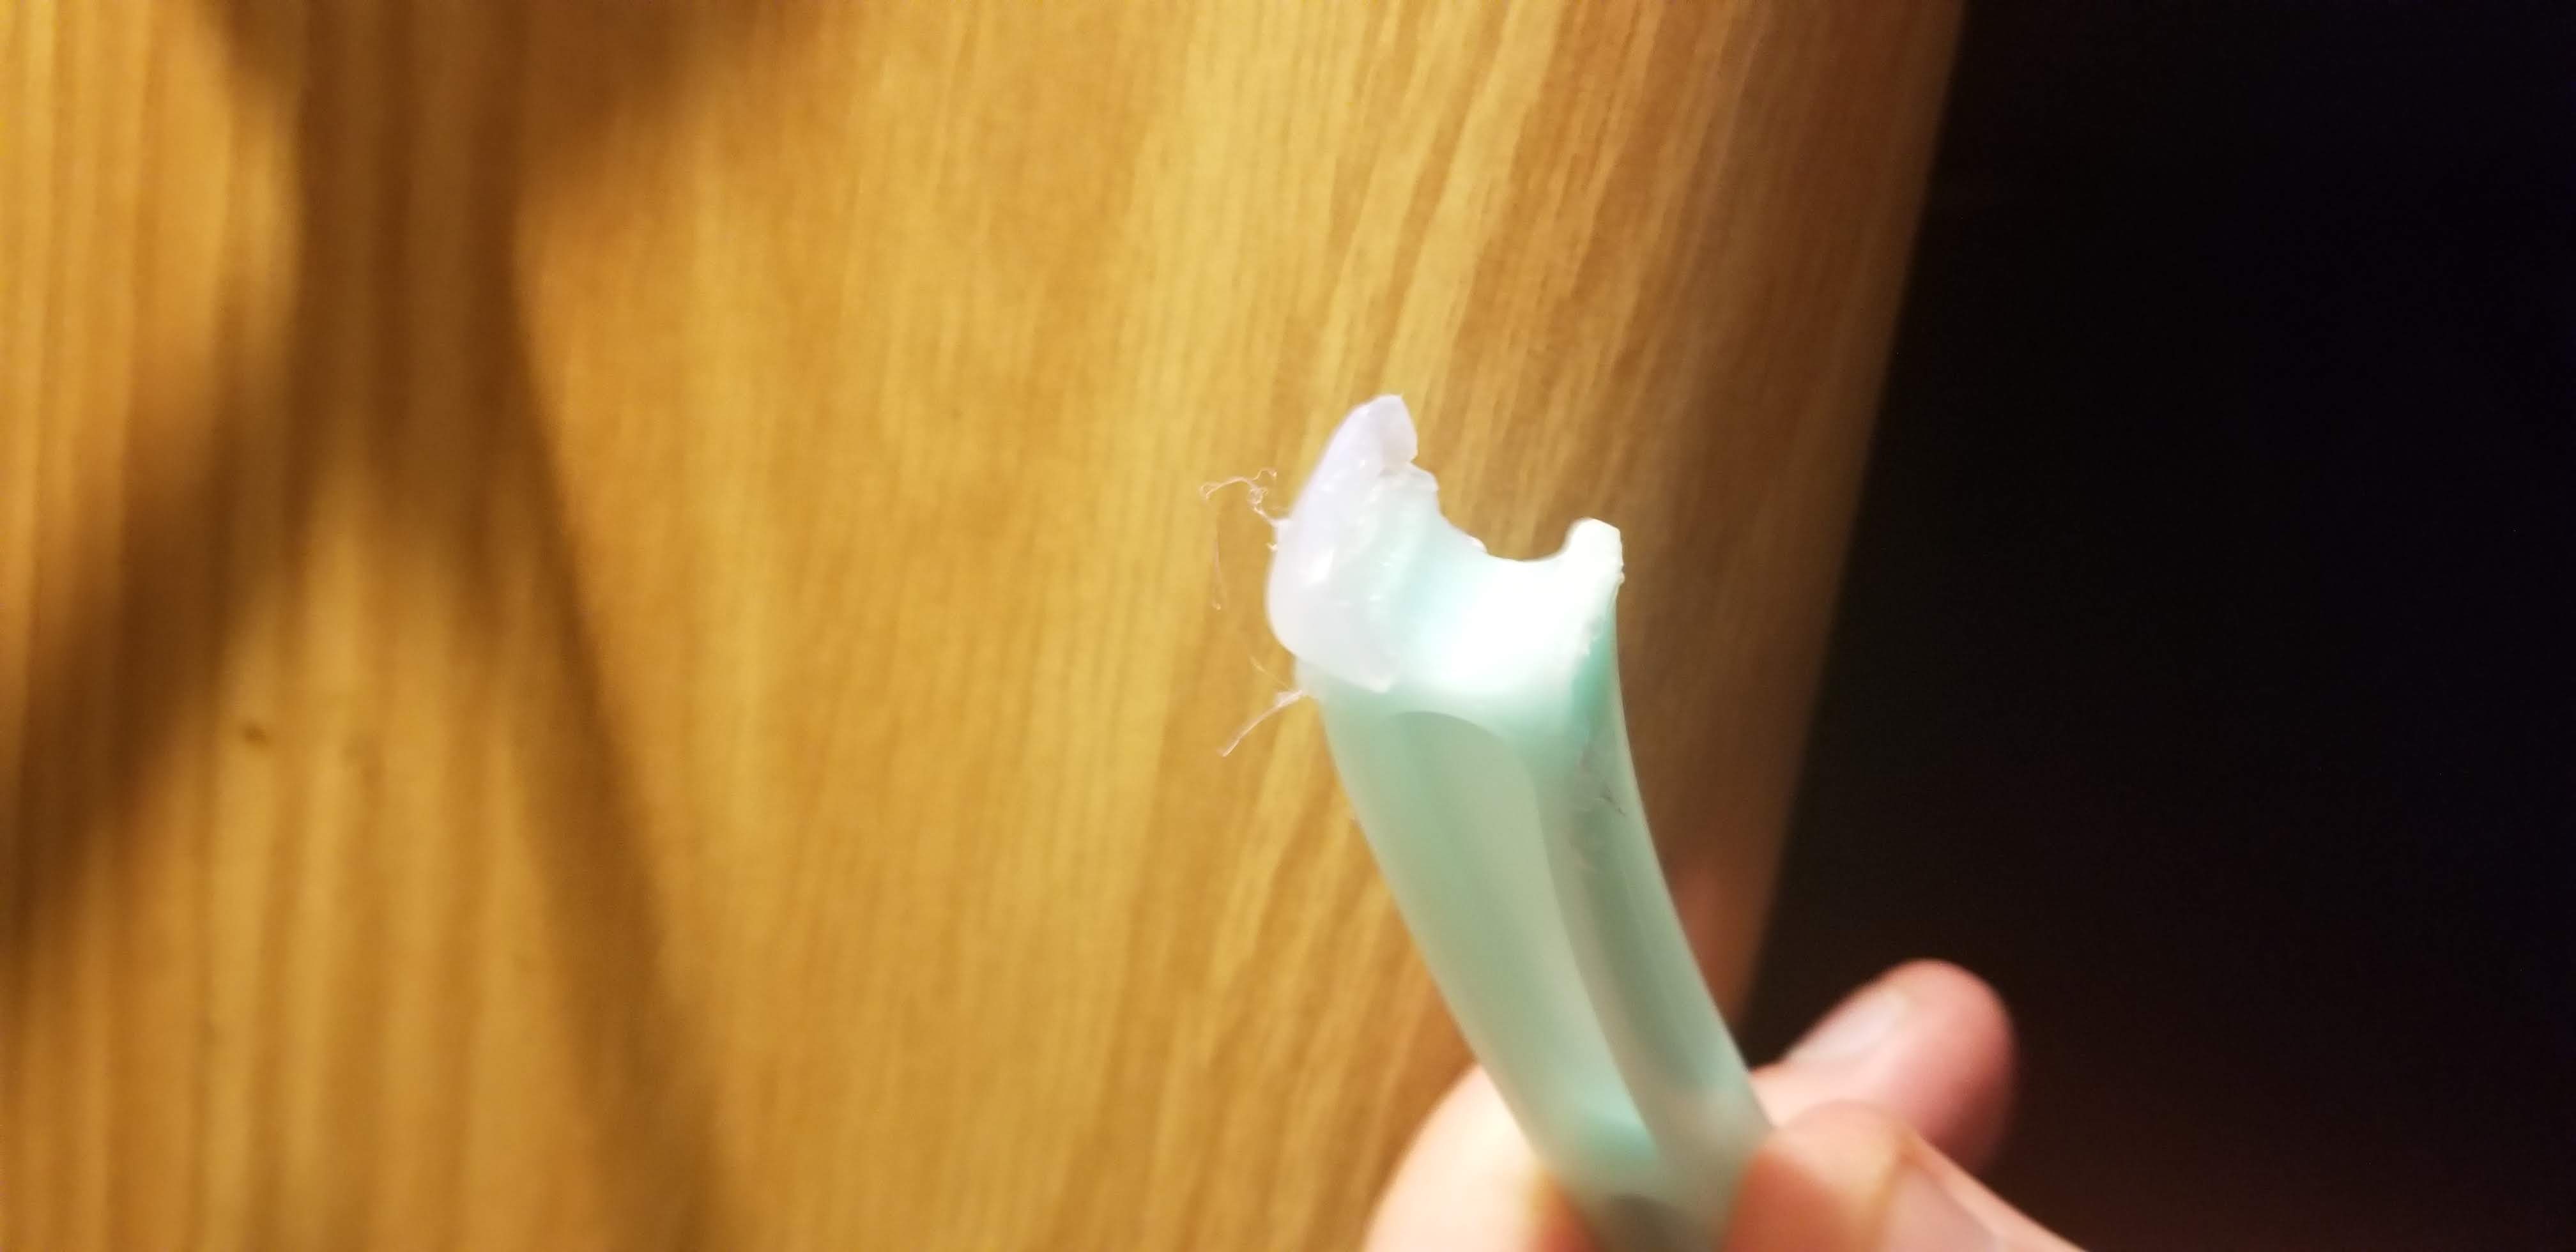
 This was interesting. One time while flying, I forgot to include the voltage
checker to the drone. When the battery died, I was flying it about fifty feet
in the air. While falling the lipo battery ended up unplugged from the
power board and managed to slip out of the velcro straps holding it in place
and ended up falling. Despite their reputation for being fragile, mine
miraculously was fine. Tis but a scratch.
This was interesting. One time while flying, I forgot to include the voltage
checker to the drone. When the battery died, I was flying it about fifty feet
in the air. While falling the lipo battery ended up unplugged from the
power board and managed to slip out of the velcro straps holding it in place
and ended up falling. Despite their reputation for being fragile, mine
miraculously was fine. Tis but a scratch.
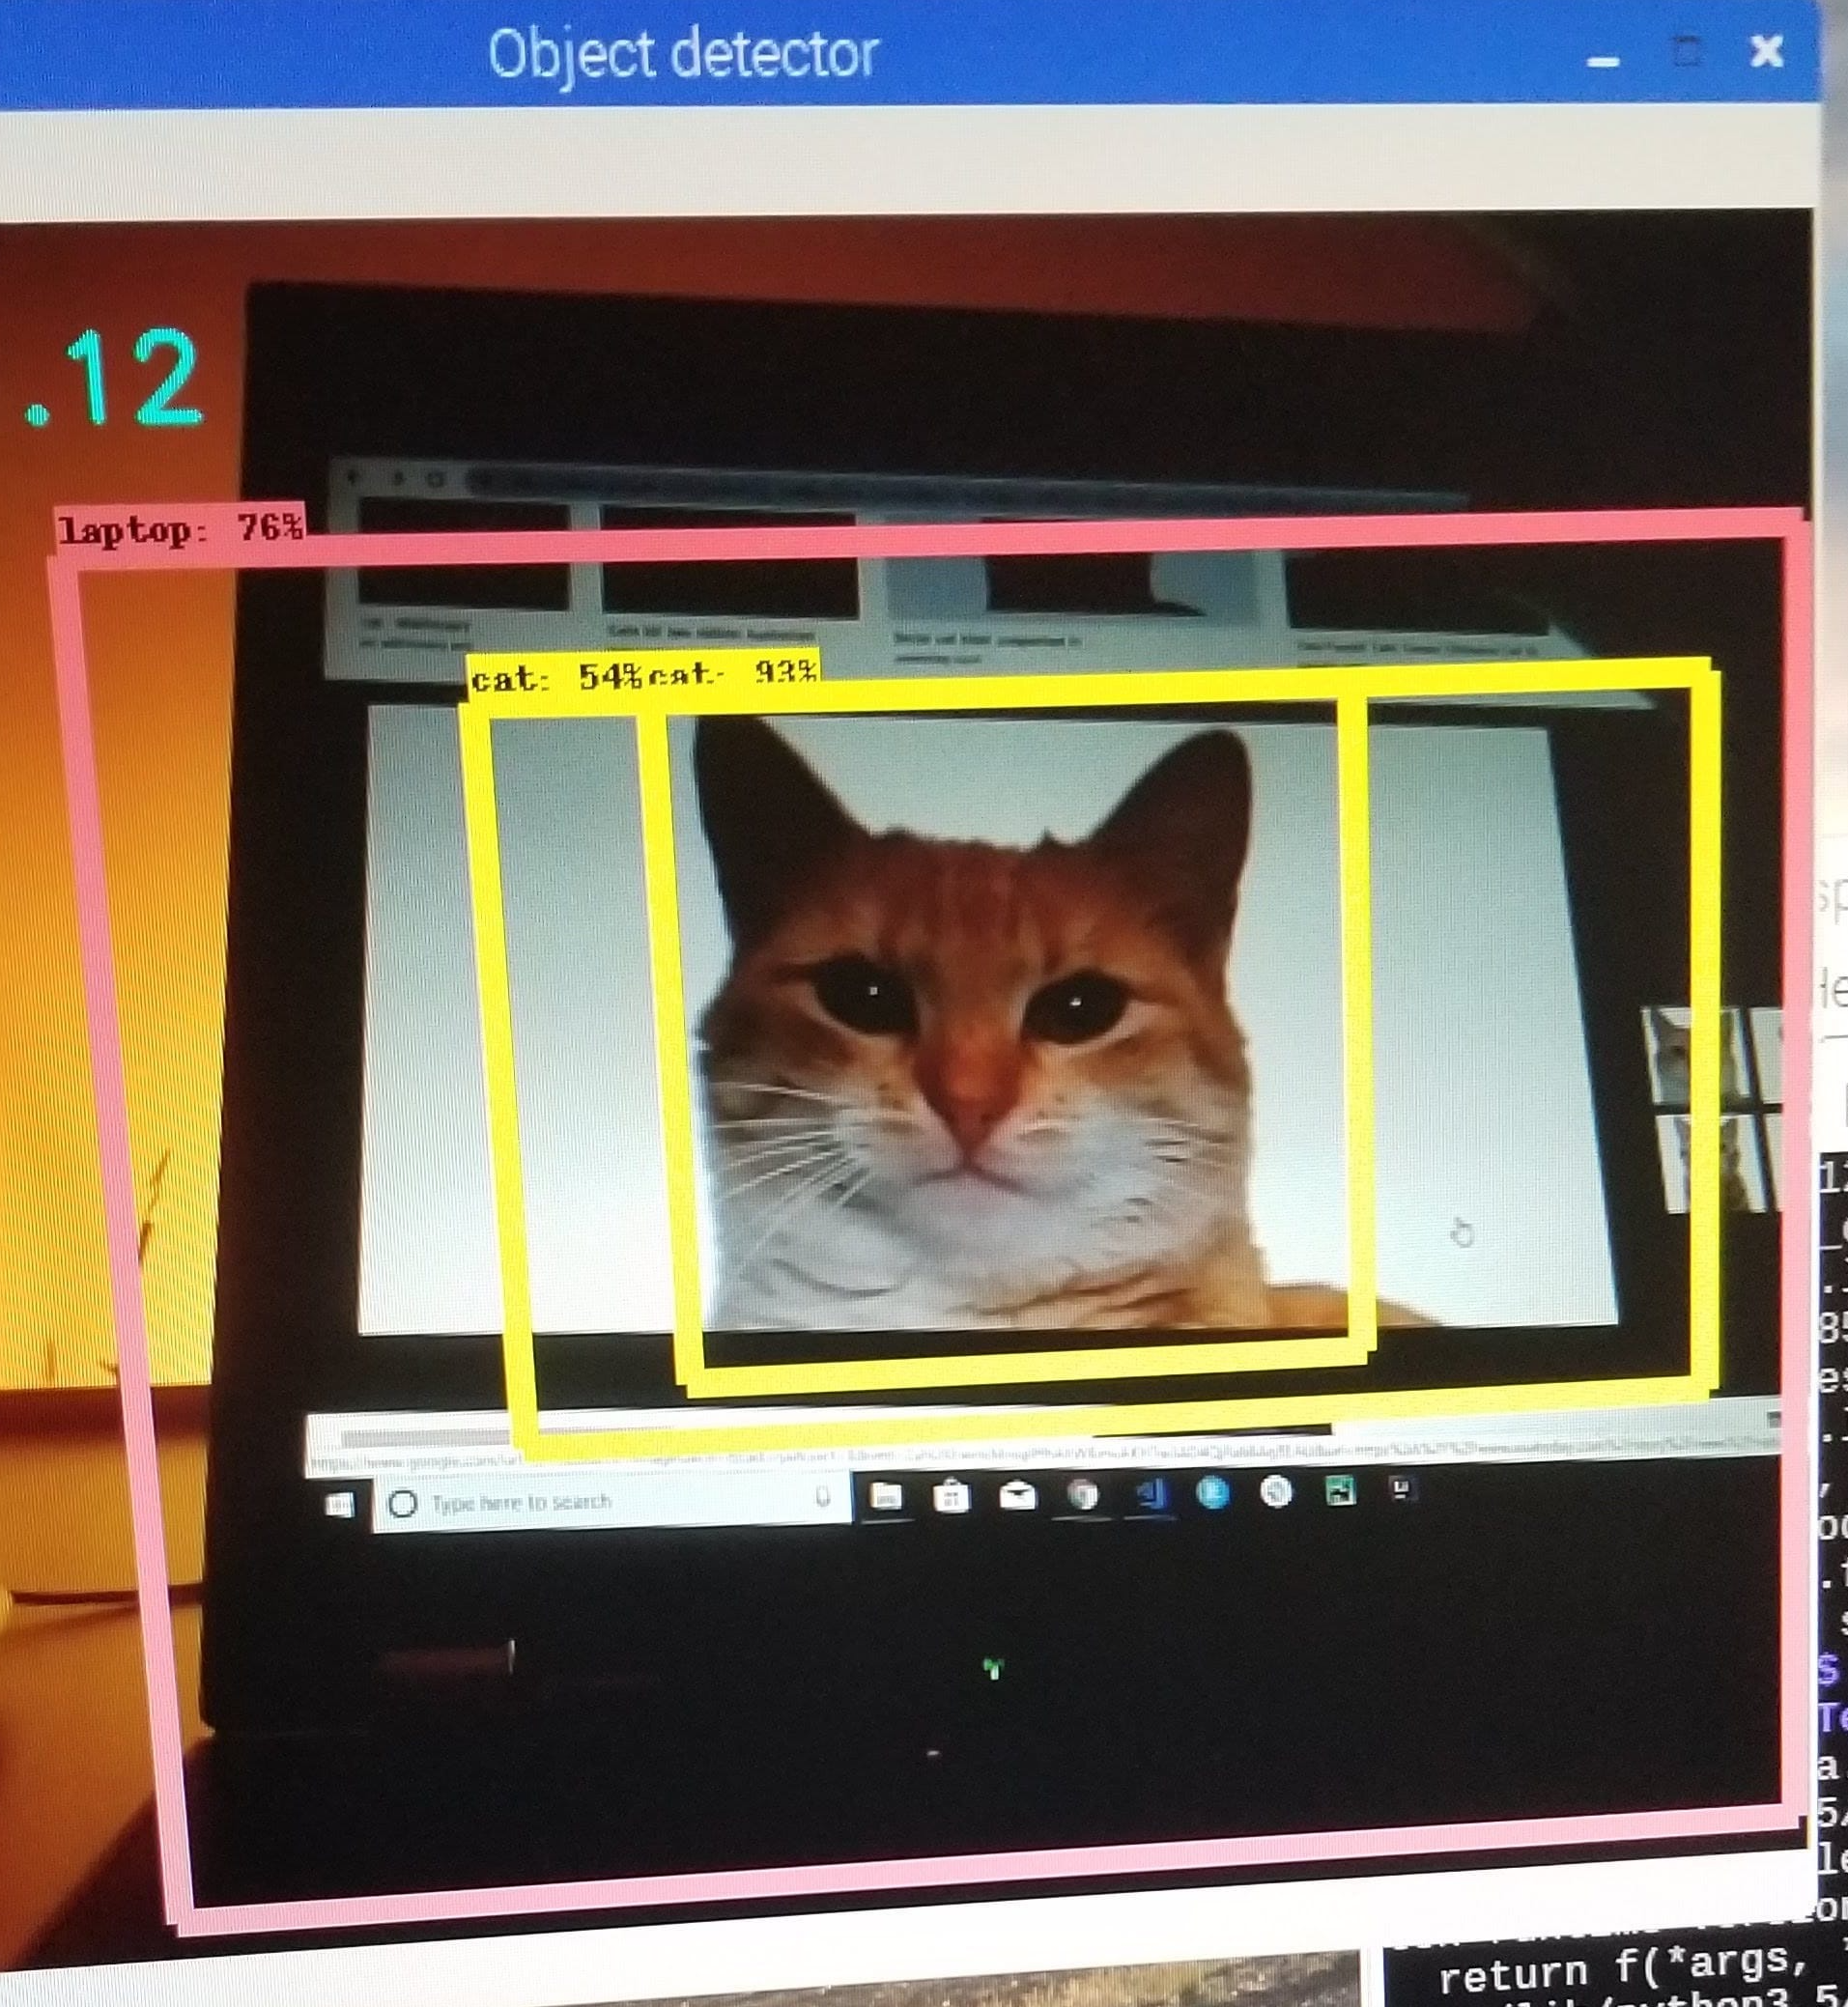
Image Classification
The Pi is only a $35 computer and it begins to show when it comes to image
classification. At the time I was forced to trade off performance for speed by making
TensorFlow less accurate. Eventually I rewrote the
entire codebase to make it run significantly faster using Python’s io library
and 8GB Pi 4 while making it more accurate as well. This performance boost was based
on Google’s TensorFlow Lite example that was extremely helpful in this project. You can
find the project here.
I also set the camera to a more reasonable resolution of 640x480 that greatly increased
performance. Here are some pictures I took before removing the GUI aspect of the code
found in the Google example. Now I have about 90% accuracy at 30 frames per second
with my rewritten code.
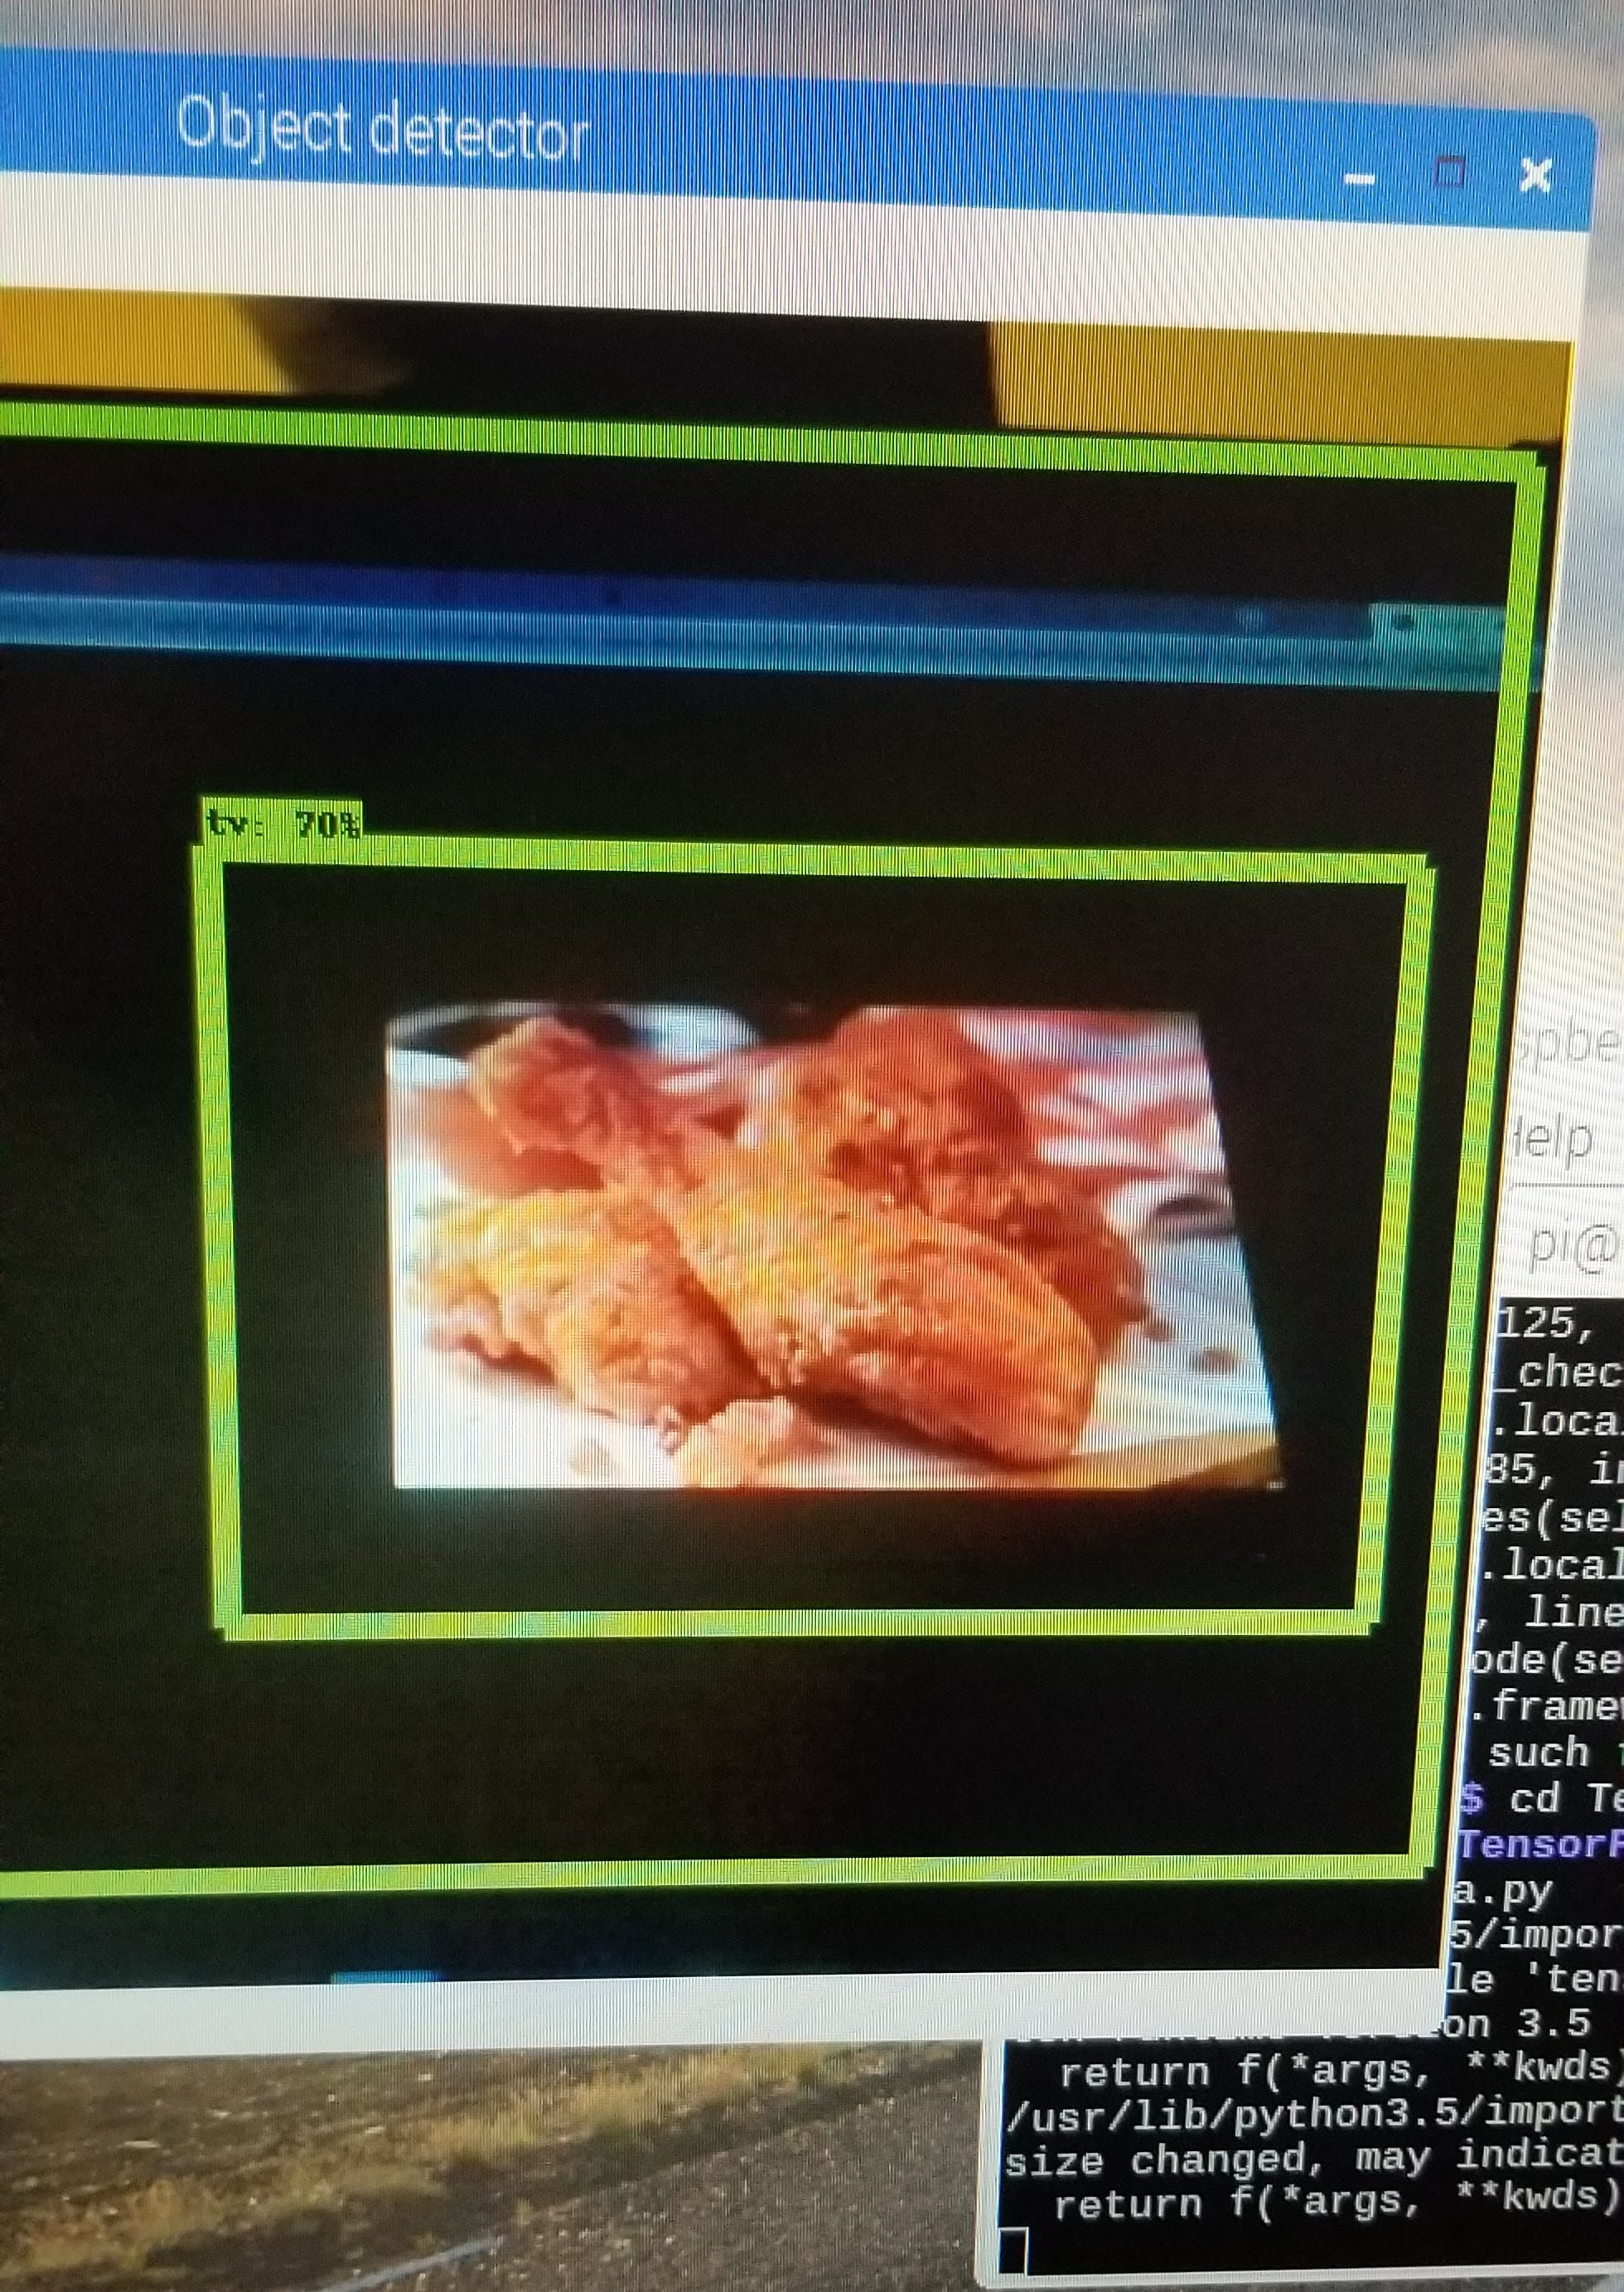 Kentucky fried TV
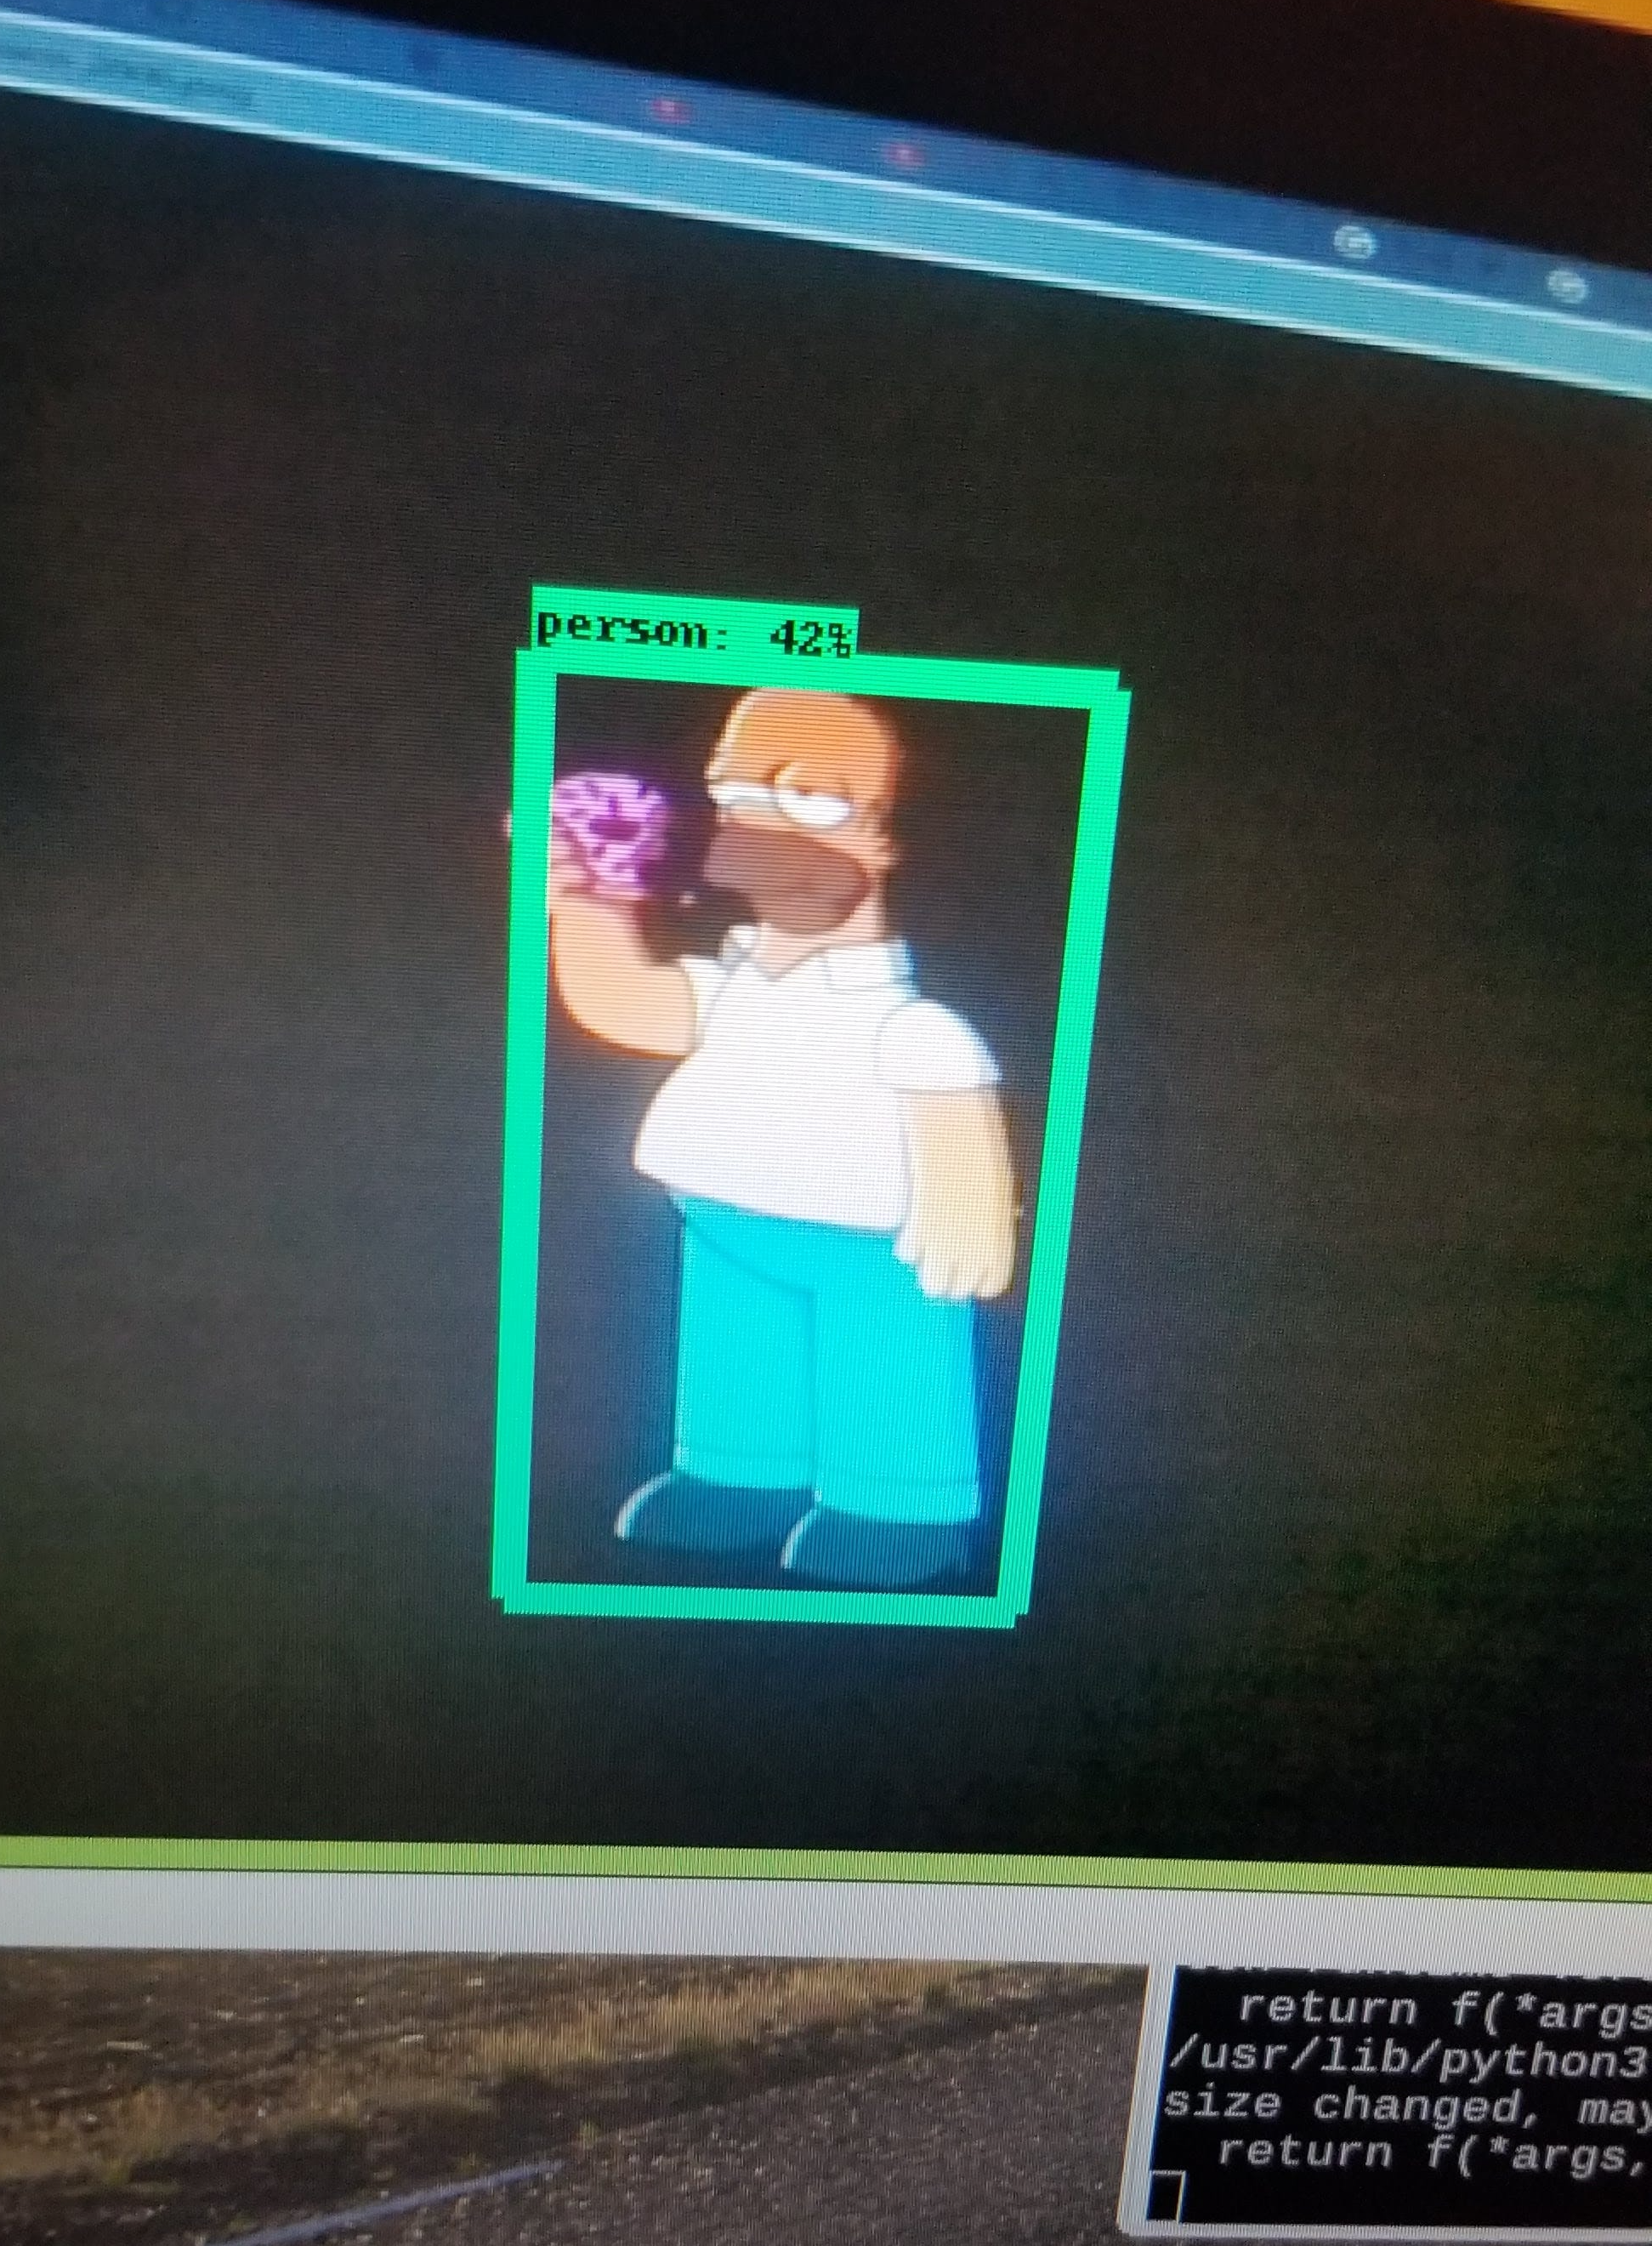
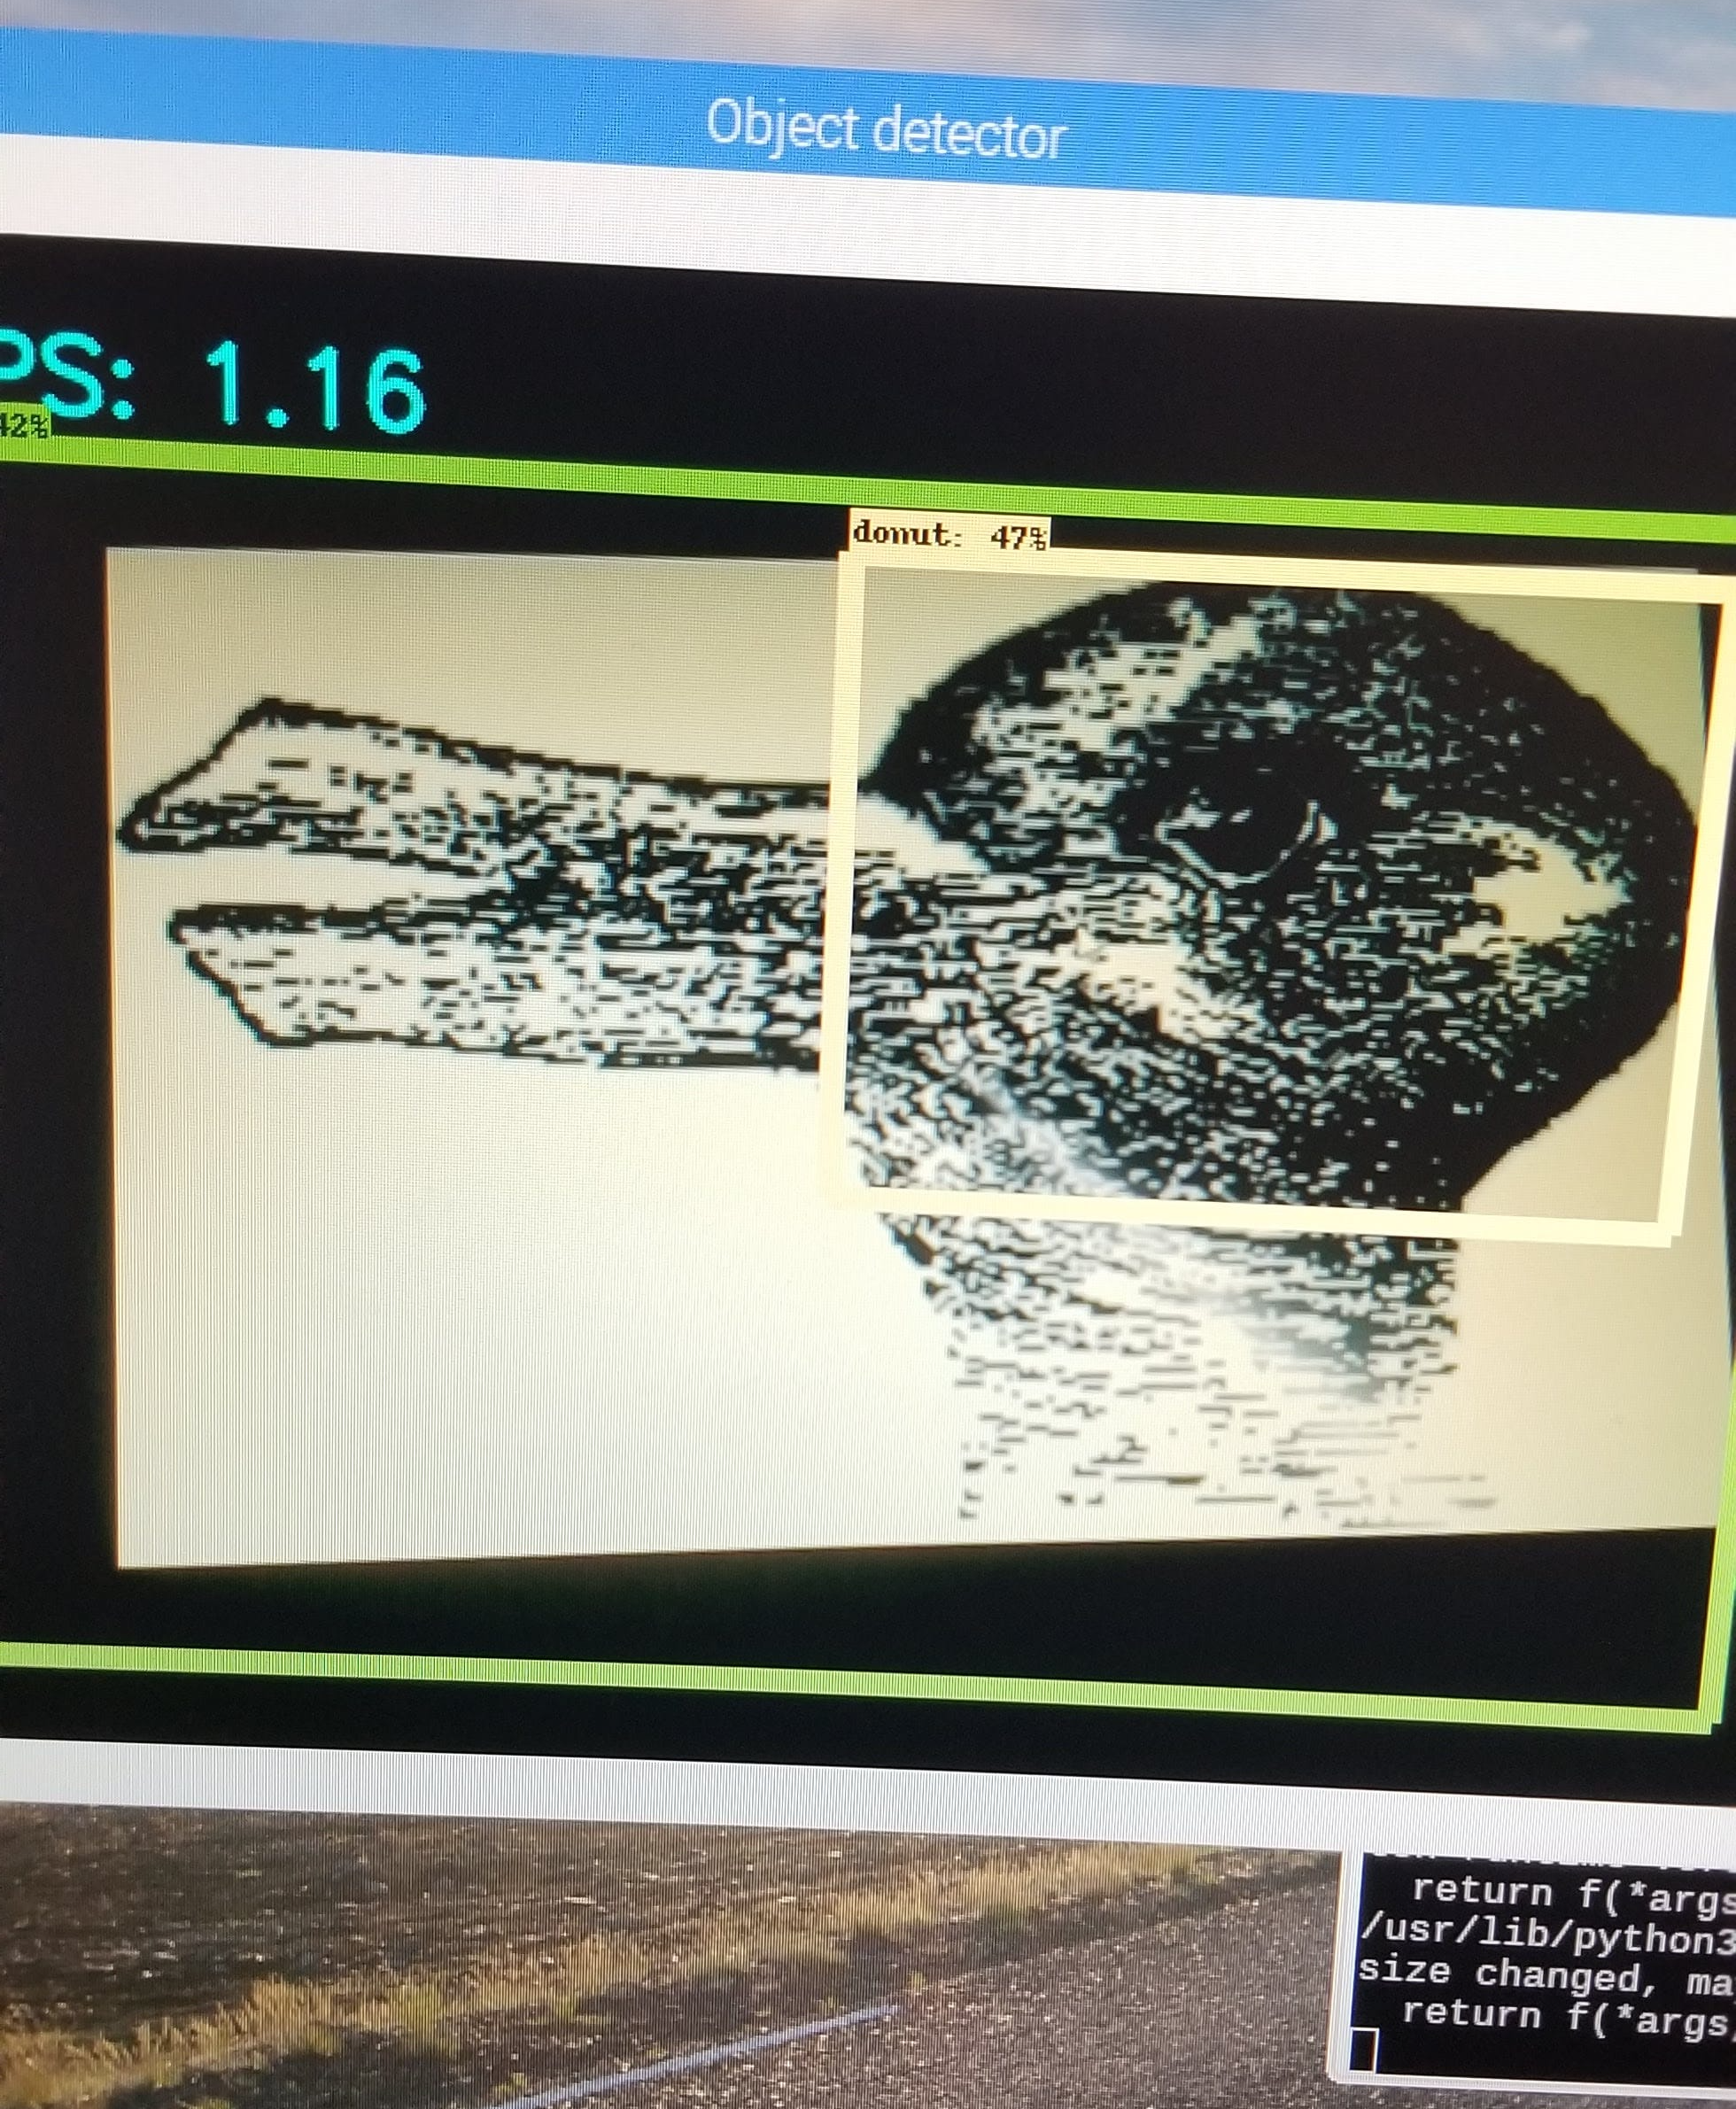 Duck? Bunny? No, donut!
Footage: